Ultimate Guide to Painting the Interior of Your Home
One of the simplest ways to freshen up the look of your home is by painting the interior. Painting is a relatively inexpensive way to add color and personality to any room, and it can be done by most people with basic painting skills.
Do you want to know the secret of how to paint your home? I’ll walk you through the steps! It’s not that hard, and it doesn’t have to cost a lot. With this article, I will provide you with what is needed for painting success!
Cost of painting the interior of a house yourself
Contents
The cost of painting the interior of a house yourself will depend on the size of the house, the number of coats of paint you need, and the type of paint you use. In general, expect to spend between $200 and $1,000 on supplies and tools for painting the interior of a typical-sized home.
This is much cheaper than hiring someone to do it for you and will transform the look of your home in no time!
What type of paint should you use for different surfaces
Different surfaces require different paints or coatings. This is because different surfaces require different levels of durability, protection, and esthetics.
Ceilings
You should use flat or eggshell latex paint on ceilings because they are easier to clean than other paints.
Doors, windows, cabinets and baseboards
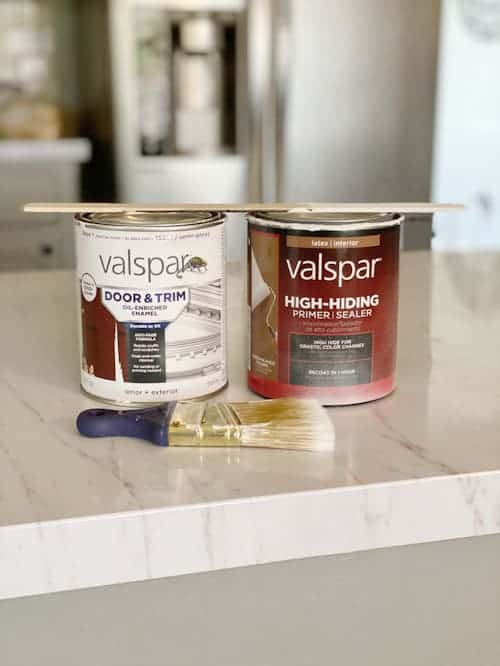
Use either oil-enriched enamel or 100% acrylic latex paint for these surfaces. Oil-based enamel is easier to clean and provides a more durable finish, but it takes longer to dry. 100% acrylic latex paint is more environmentally friendly and faster drying than oil-based products, but it does not last as long and can be difficult to clean.
You’ll want to use a semi-gloss or satin finish on interior doors, windows, cabinets, and baseboards.
Interior walls
100% acrylic latex paint is recommended when painting the interior walls because it is durable, easy to clean, and environmentally friendly. You can use flat or matte, eggshell, or satin finish, depending on the look you want.
Prepping the Room
Before painting a room, you need to prepare it. This means removing switch plates and outlet covers, sanding down rough patches, and patching up nail holes and other small imperfections.
You may need to move furniture away from the walls and cover it for protection.
If you’re going to be painting your walls a different color, this is also the time to fill in any cracks or rectify any other problems that might bleed through the new paint.
Gather the right tools
The first step in painting the interior of your home is to gather the right supplies. You’ll need:
- a drop cloth
- high-quality roller and pads
- high-quality brushes
- paint tray
- painter’s tape
- ladder
- paint of your choice
It’s important to get quality supplies, as cheap paint and tools can lead to disappointing results.

Choosing a paint color
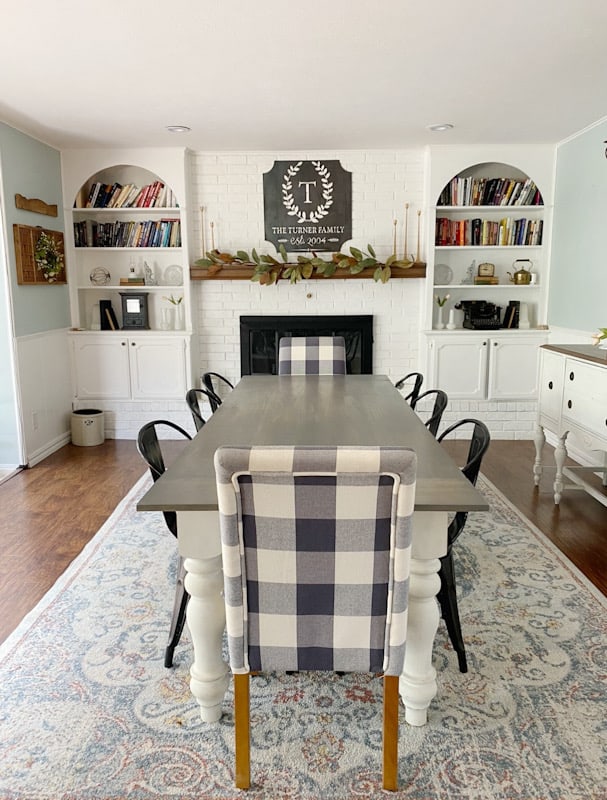
When choosing paint, it’s important to select the right color and finish for the room you’re painting. Make sure to choose a color scheme that matches your decor and personality.
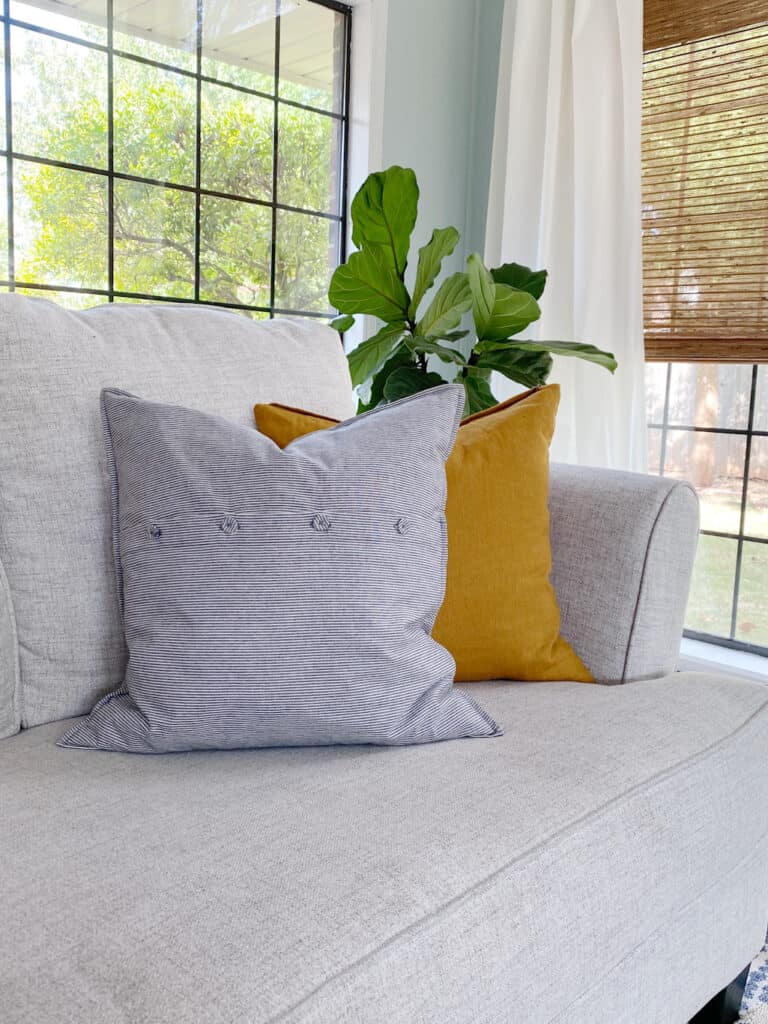
You may want to go with a neutral gray or beige and decorate with color. Or you may choose a bold dark green color with neutral accents if that fits your style more.
You’ll want to pay attention to the lighting in your space when choosing a paint color. Rooms that receive lots of light will naturally make colors appear much brighter. Rooms that are poorly lit can bring out the dullness in bright or dark colors.
If you’re not sure which color to choose when painting the interior of your home, take a look at some paint swatches or visit a home improvement store to get some ideas.
You can order peel and stick paint samples from Samplize to make the process easier! You can read more about Samplize here!
Gray paint colors are very popular, along with beige if you’re going neutral.
Glossy and semi-gloss finishes are best for high-traffic areas, while satin, egg shell, and matte finishes are better for less-used areas.
Trying to decide on a color for your kitchen cabinets? Check out my post on how to choose kitchen cabinet colors! Black cabinets can really add some drama!
How to paint a room
Once you’ve chosen your paint, prepped your room, and gathered your supplies, it’s time to paint! Here’s how to paint a room from start to finish.
Step 1: Floors and Trim
Start by covering your flooring with drop cloths. Use painter’s tape to tape off the edges of the trim, windows, and doors.
Step 2: Paint the walls
You’ll want to apply a coat of primer to the walls if you’re going from a darker to a lighter color. A lot of paint brands offer a combination of paint and primer in one so you may be able to eliminate this step if you’re using a high-quality paint.
If you’re using a brush and roller, begin by cutting in around the perimeter of the room with the brush. This means that you will be painting the edges of the walls where they meet the ceiling. Once this is done, you can start painting the rest of the room using the roller.
Once the primer is dry, apply a coat of paint in your desired color. Be sure to use a roller or brush that’s appropriate for the texture of your walls. Heavy textures, walls with paneling or shiplap, or walls with a brick overlay will need a roller with ridges and nooks and crannies for smooth coverage, while smooth surfaces can be painted using a roller with a short nap, a brush or paint sprayer.
Always work in thin coats so you don’t get any globs or bubbles, and remember that less is more: latex paints dry fast and you don’t want to apply too much at once.
Step 3: More Coats and Cleanup
Once you’ve painted all of the walls, let everything dry for a few hours before checking to see if you need another coat. You’ll most likely need to do two coats, sometimes three, depending on what you’re painting over.
When all coats of been applied and are fully dry, you can remove the painter’s tape and drop cloths. If needed, clean any paint drips up with a damp rag and some soapy water. If you’ve used latex paint, it should come right off.
How to use a paint sprayer on interior walls
Sprayers are easy to come by, but many people are unsure about how to use them properly when painting the interior of their home. Using a sprayer is not difficult with the right preparation and practice.
Start by filling the sprayer tank with the paint you will need. Most of these tanks hold between 1 and 2 gallons, so know how much room you have to work with. Then pour in a good amount of thinning agent according to the manufacturer’s directions so that the paint is thin enough to go through the sprayer nozzle.
Some paints require more thinning than others, but it is generally better to err on the side of too much thinning agent than not enough.
Next, put on your safety gear. This will include goggles, a respirator, and gloves. Make sure the goggles fit well and won’t fall off when you are working. The respirator should fit snugly against your face, and the gloves should be made of rubber or other tough material that won’t rip when you are squeezing the trigger.
Prepare the area to be painted by removing any furniture, lamps, or rugs that might get in the way. If there is a ceiling fan with lights on the same switch as a wall light, make sure you know where they are before you start painting so you don’t have to stop in the middle to avoid getting paint on them.
Now it is time to start spraying. Hold the sprayer about 6 inches from the surface of the wall and begin spraying in short, even strokes. Move the sprayer back and forth, always keeping it in motion.
Start at one end of the wall and work across it in long, even lines. Then overlap your strokes on the next section so that you are always covering the same area twice. This ensures an even look on the finished product. Use light pressure on the trigger to start with, then increase it as you get used to spraying.
To avoid lap marks, always start at the top of the wall and work your way down. . If you start in the middle of a section and have to stop, don’t worry; just pick up where you left off the next time you paint that area.
When spraying near trim or woodwork, hold the sprayer 18 inches away from the surface and slightly tilted so the sprayer is perpendicular to the surface. Keep the sprayer moving while spraying, and overlap each stroke with the previous one.
If you’re painting a ceiling, start in one corner and work your way across, then start in another corner and do the same. Never try to paint the entire ceiling at once; it’s too difficult to avoid lap marks this way.
Tips for painting ceilings
Make sure the ceiling is free of defects. If there are any stains on it or holes, these must first be patched-up with spackling compound or wallboard compound before you paint. You want to do this because most ceilings are white and will show every little mark that’s on them.
If you have textured ceilings, they will require a bit more work. You’ll need to use a leveling compound before you paint, and while this is drying, “float” the rest of the ceiling using a 12-inch drywall knife.
Within this same area, it will be necessary for you to remove ceiling fans and light fixtures if they are attached to the ceiling. This is because you will need to paint the entire ceiling, and these fixtures will get in the way. If they are not attached, then you can simply tape them off with painter’s tape.
Once everything is prepped, it’s time to start painting. Just like your walls, begin by cutting in around the perimeter of the room with a brush. Once this is done, you can start painting the rest of the ceiling using a roller.
Again, you will most likely need to do two coats of paint on the ceiling and you’ll want to use a flat finish.
When you’re finished, allow the paint to dry for at least 24 hours before re-installing any fixtures or putting anything back on the ceiling.
Tips for painting woodwork, trim work, cabinetry and doors
If you’re painting the interior of your home’s woodwork, trim, cabinets or doors, you’ll want to choose a contrasting color. If you paint your cabinets or trim exactly the same color as the wall, it will make the room look smaller and more cramped. Instead, choose a slightly darker or lighter paint color for these areas to create a subtle contrast that gives the walls a clean, crisp appearance.
If you want to change the color of your cabinets but don’t have the budget to replace them yet, consider painting them. Painting over stained cabinets minimizes damage to the doors and keeps costs lower than refinishing.
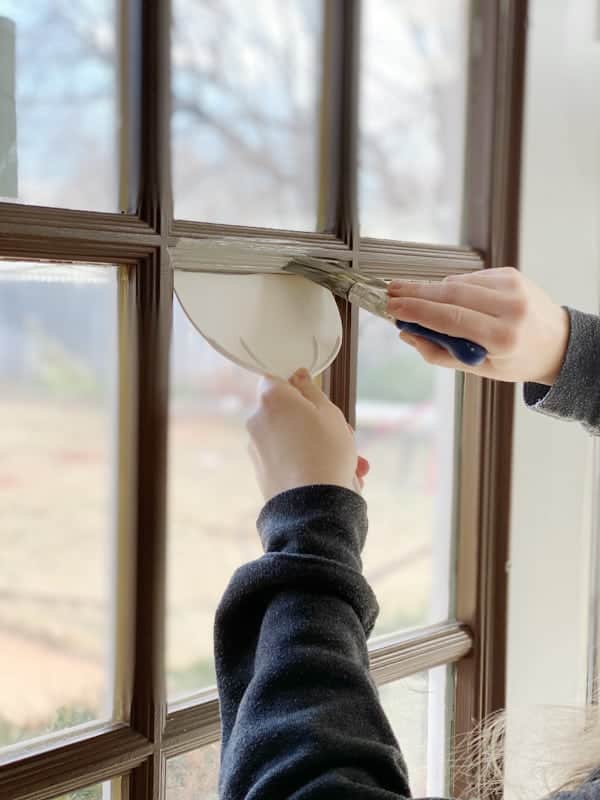
Before painting doors, trim, etc. you’ll want to sand down any rough spots and fill in any imperfections.
Use an oil-based primer if you’re painting stained woodwork of any kind. Then choose a high-quality paint made specifically for doors, trim and cabinets. You can remove trim work and cabinet doors if you want to use a paint sprayer. Otherwise, a high-quality brush is recommended.
Painting tips and tricks for beginners
If you’re new to painting, here are a few more tips to help you out:
- Always read the instructions on the paint can carefully. This will tell you how to properly mix and apply the paint.
- Always use the proper supplies for the job.
- Be sure to cover areas adjacent to your work area. Use drop cloths or plastic sheeting, and be sure to tape them down so they don’t slip when you pass by.
- Wear old clothes and shoes, and be sure to cover your hair. Painting can be a messy job.
- If using an oil-based paint, you’ll need to use mineral spirits to clean your brushes.
- Be patient. Don’t try to do too much at once. Paint one wall or one section at a time, and take your time. If you make a mistake, you can always touch it up later!
Congratulations, you’ve just painted a room! As mentioned at the start, painting the interior of your home is an affordable way to add personality and color to any space, and it’s a project that you can take on yourself with the right tools and know-how!
Painting the interior of your home yourself will save you tons of money vs. having to hire it out. So why not give it a try? You may be surprised at what a difference a fresh coat of paint can make!