How to Install Wainscoting: Different Methods and Types
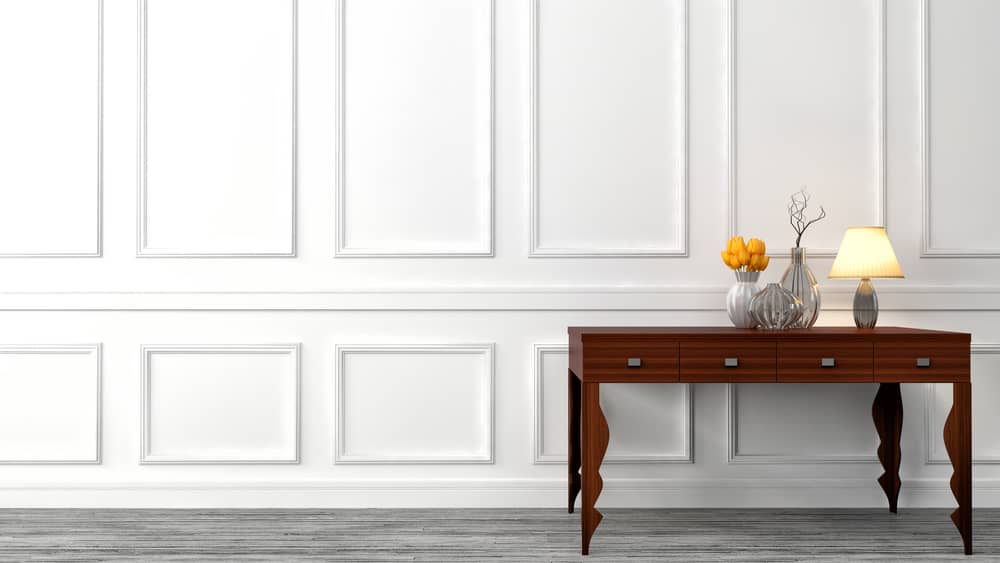
A wainscot is a panel that is installed below the chair rail in a room. It is typically used to add some architectural detail and to protect the wall from damage. Wainscoting can be made from a variety of materials, including wood, MDF, or even vinyl.
This post contains affiliate links for your convenience. See my disclosure policy here.
How to install wainscoting is relatively simple and adds beautiful detail to an entryway, dining room, or really almost any space in your home! We recently installed a wainscoting accent wall in our entryway using MDF boards and I’ll share how to install wainscoting plus answer some frequently asked questions about wainscoting.
The history of wainscoting
Contents
The use of wainscoting goes back to the 16th century, when it was used to protect the walls of castles from damage. Wainscoting has also been used in residential homes for centuries, as a way to add some architectural detail and to protect the wall from damage.
How do you pronounce wainscoting?
This may seem like a funny thing to ask, however people often wonder how to pronounce wainscoting correctly. In short, the word “wainscoting” is pronounced just as it looks: “Wayne’s-coating”.
Wainscoting versus board and batten
There are different types of wainscoting. The most common type is panel wainscoting, which is made up of panels that are installed in place. You can choose flat, beaded, or raised. You can also choose to use your existing wall as the base, which is what we did.
Board and batten, a really popular choice, is also type of wainscoting which involves installing a series of boards on top of each other with horizontal battens (strips of wood) installed between them.
Both types of wainscoting can be made from a variety of materials, including wood, MDF, or even vinyl. If you’re looking for a quick and easy way to add some architectural detail to your walls, then learning how to install wainscoting is definitely the way to go.
Which type of wainscoting you choose to install will likely depend on your personal preference and the look you are going for in your room. Board and batten can give a room a more modern farmhouse look, while panel wainscoting is a bit more traditional.
Shiplap can also be considered a type of wainscoting in the way it’s used in our modern interior home design.
Tongue and groove wainscoting
Tongue and groove wainscoting is another type of wainscoting that you can install in your home. It involves installing a series of boards that have been cut with a tongue and groove joint. This type of installation is a little more complicated than some of the other options, but it can provide a very polished look.
Cost to install wainscoting
Installing wainscoting isn’t difficult and can be done by most do-it-yourselfers. However, there is some cost involved in materials and labor. The cost to install wainscoting will vary depending on the type of wainscoting you choose, but typically ranges from $10 to $25 per square foot, on the higher end if you’re using wood.
MDF is the most affordable and works great in spaces that don’t get moisture (you don’t want to use it in a bathroom). We went this route to save money and were able to find 1 in. x 3 in. x 8 ft. boards at Home Depot for about $7 each.
You can also find other Home Depot wainscoting paneling options here.
Then you need to account for supplies to install the wainscoting like nails, glue, and caulk.
How high should wainscoting be?
When it comes to the height of your wainscoting, there is no right or wrong answer – it really depends on your personal preference. However, a good rule of thumb is to have the wainscoting come up to about the same height as your chair rail. This will help to create a nice, cohesive look in your room.
The average height of a chair rail is 32 inches. But you can go higher or lower depending on the look you want. More recently, a popular look has the chair rail and wainscoting about three quarters up the wall.
Now that we’ve addressed some of the basic questions surrounding wainscoting, let’s talk how to install wainscoting!
How to install wainscoting using MDF boards
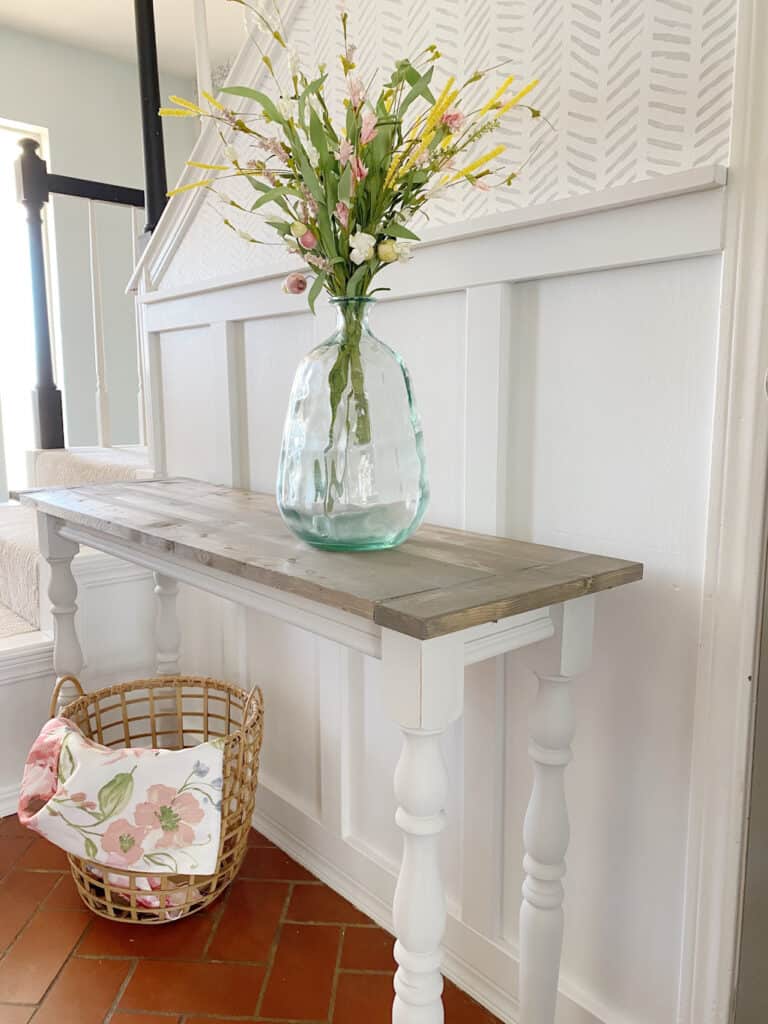
As mentioned, we used plain primed MDF boards to create a faux waincoting in our entryway. The wall we were working with is about 4 feet wide and we wanted it to go 4 feet up the wall. We just wanted to add a little detail to an otherwise boring wall.
We purchased three 1 in. x 3 in. x 18 ft. MDF boards and one 1 in. x 2 in. to create a chair rail.
We decided to use our current wall as the base since it wasn’t textured and we could just paint it. We gave the wall two coats of white paint and allowed it to fully dry. We also gave the primed MDF boards a coat of the white paint.
We cut the first board to fit the width of the wall and installed it directly on top of the base trim. This way we didn’t have to worry about cutting 45 degree angles on the vertical boards for it to look right to butt up against the trim.
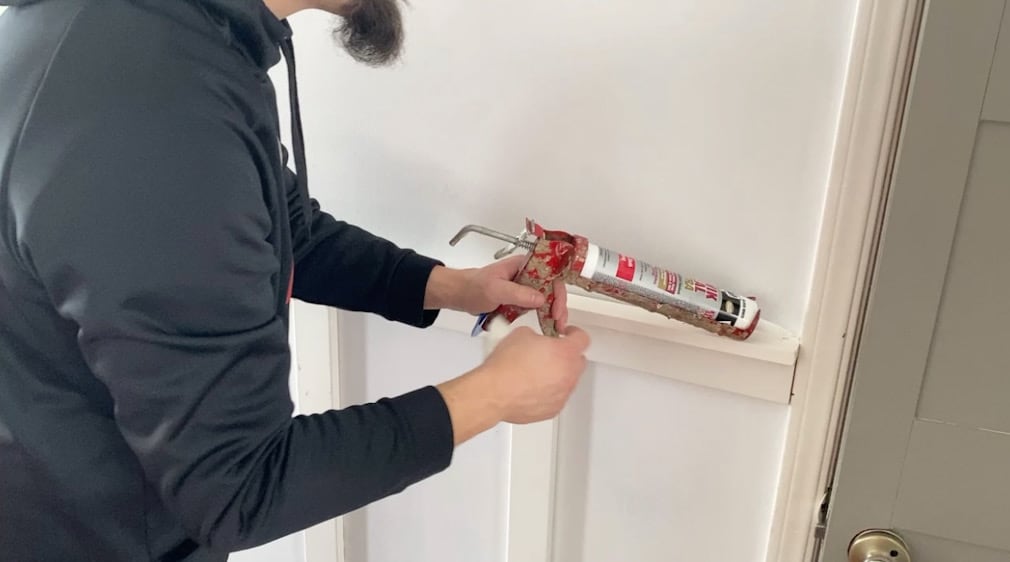
We used liquid nails to glue the board to the wall and a nail on either end to secure the board while the glue dried.
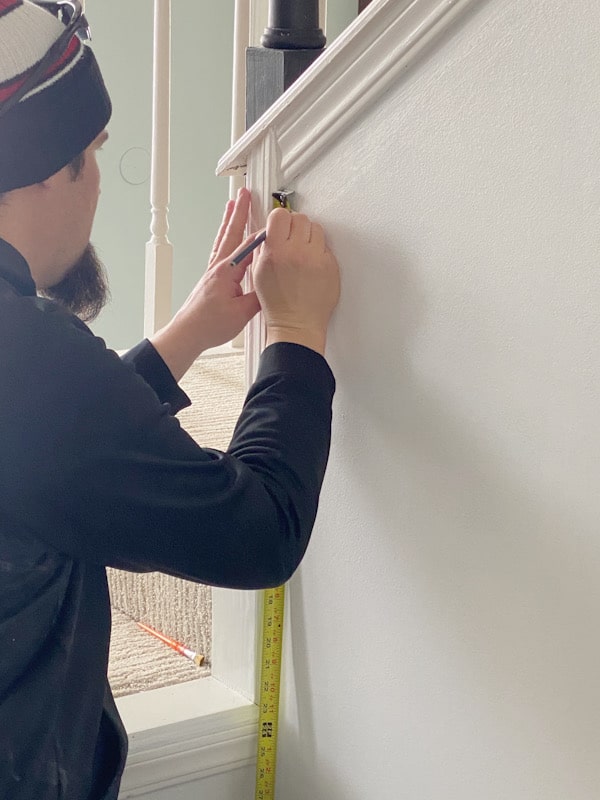
Next, we measured the wall and decided to install three vertical boards 16″ apart along the wall. Then we placed another board horizontally on top of the three vertical boards.
To give it the finished look of real wainscoting we installed a 1 in. x 2 in. MDF board flat across the top of the horizontal board to act as a chair rail.
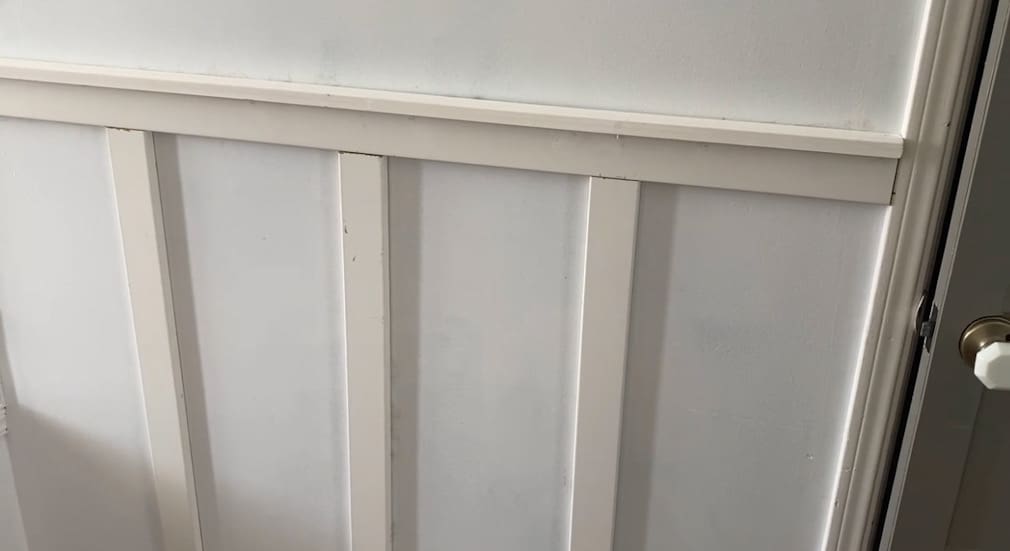
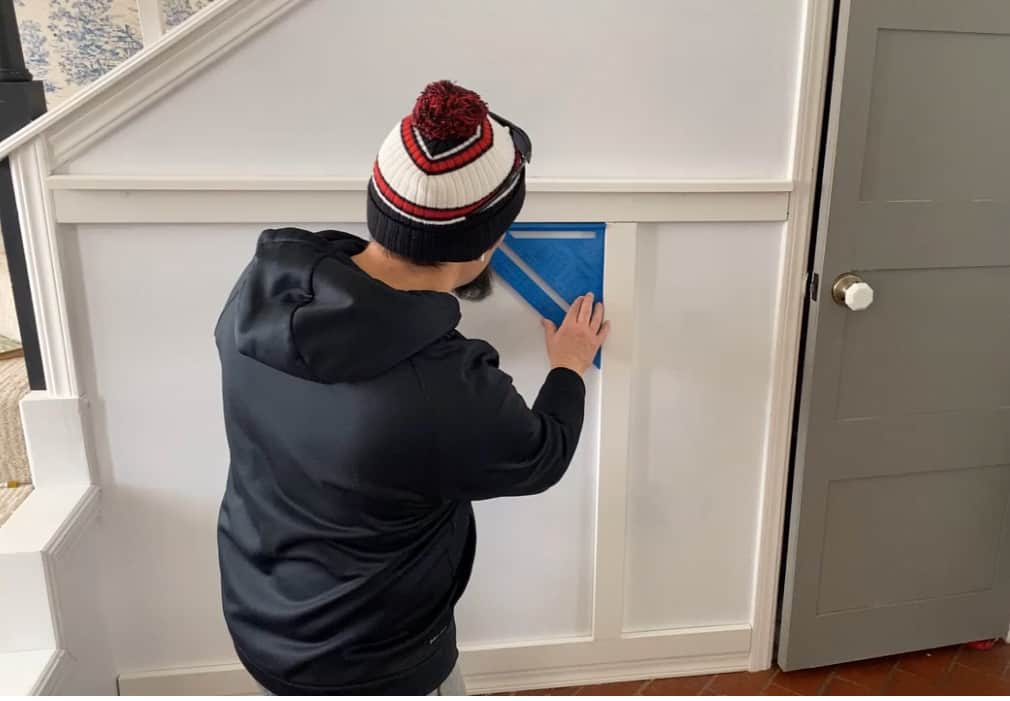
We used caulk to fill in all of the gaps between the boards and the wall and after allowing the caulk to dry, gave it a final coat of white paint.
Since we were working with such a small area and chose to use MDF boards, this project only cost us around $50 and a couple hours of work. What a huge difference it made!
How to install wainscoting over drywall using panels
If you’re installing wainscoting over drywall using panels, you will first need to attach a horizontal rail to the wall. This rail will serve as a guide for installing the wainscoting panels.
Next, you will need to attach the wainscoting panels to the rail. The panels should be spaced evenly apart, and you should use panel adhesive to attach them to the rail. Make sure that the panels are level before you allow the adhesive to dry.
Once the adhesive has dried, you can install the cap molding. This molding will cover the top of the wainscoting panels and conceal any gaps between them. Use a miter saw to cut the molding to the correct length, then attach it to the wall with panel adhesive.
Once the adhesive has dried, you can seal the wainscoting with a coat of paint or wood finish.
How to install wainscoting using tongue and groove
Installing tongue and groove wainscoting is a little different than using MDF or panels but is still a relatively easy project that can be completed in a weekend. Here are the steps you’ll need to follow:
1. Decide on the placement of the wainscoting. The panels should run from the floor to the chair rail, with a space of about 1/4 inch between the panels and the rail.
2. Measure and mark the placement of the first board. Be sure to measure from the floor up, not from the bottom of the board.
3. Use a saw to cut the board to fit, making sure to cut along the tongue of the board.
4. Apply wood glue to the back of the board and then nail it in place using finish nails.
5. Dry fit the next board by fitting it into the groove of the first board to make sure the cut is good. Remove the board, apply the wood glue and replace the board, nailing it in place.
6. Repeat the process until all of the boards are in place.
7. Fill any gaps between the boards with caulk.
8. Paint or stain the wainscoting to match the rest of the room.
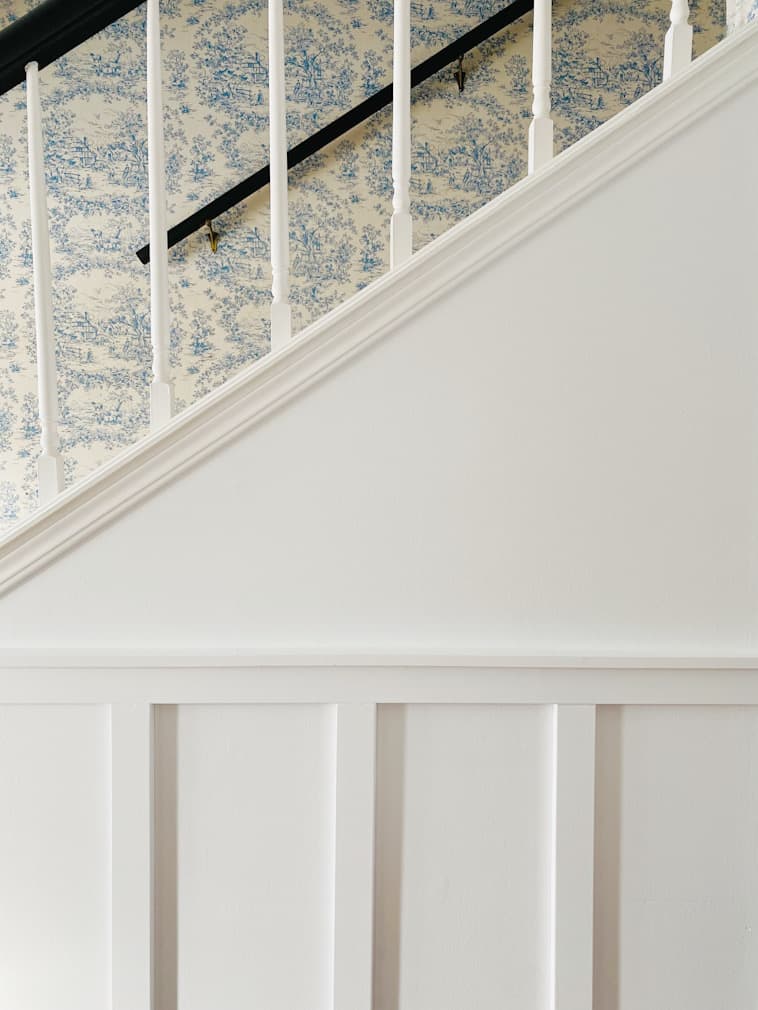
How to install chair rail with wainscoting
If you’re planning on having a chair rail installed at the top of your wainscoting, you want to make sure that your wainscoting is installed before the chair rail goes up. This will help to ensure that your wainscoting is even and looks professional.
Install the chair rail by cutting it to the correct length and nailing it to the wall at the top of your wainscoting.
A good thing about using a chair rail with wainscoting is that you don’t necessarily have to fill in all of the grooves in your wainscoting with caulk or any other type of filler. The chair rail acts as a nice mask for the grooves and gives your wall an overall more finished look.
How to paint wainscoting
Now that your wainscoting is installed, it’s time to give it a coat of paint or wood finish. This will protect the wood from damage and will help to keep it looking new for years to come.
Be sure to use a high quality paint or finish that will be able to withstand daily wear and tear. Paint and finishes made for cabinets and trim work should be used on wainscoting because they are designed to hold up under high humidity.
If using paint, a high quality paint spraying is great for getting into the grooves and corners. Be sure to cover any surfaces you don’t want the paint to get on before starting.
You can also use a roller and paint brush to paint your wainscoting, but it may take a little longer.
Apply at least two coats of paint or finish for optimal protection. Allow the first coat to dry completely before applying the second.
How to stain wainscoting
Now that you know how to install wainscoting, you’re ready for the finish. To stain your wainscoting, use a stain blocking primer first. This will neutralize the wainscoting, making it safe to apply the stain.
Use a rag to apply the stain, and be sure to wipe off any excess before it dries. Apply at least two coats of stain for optimal results.
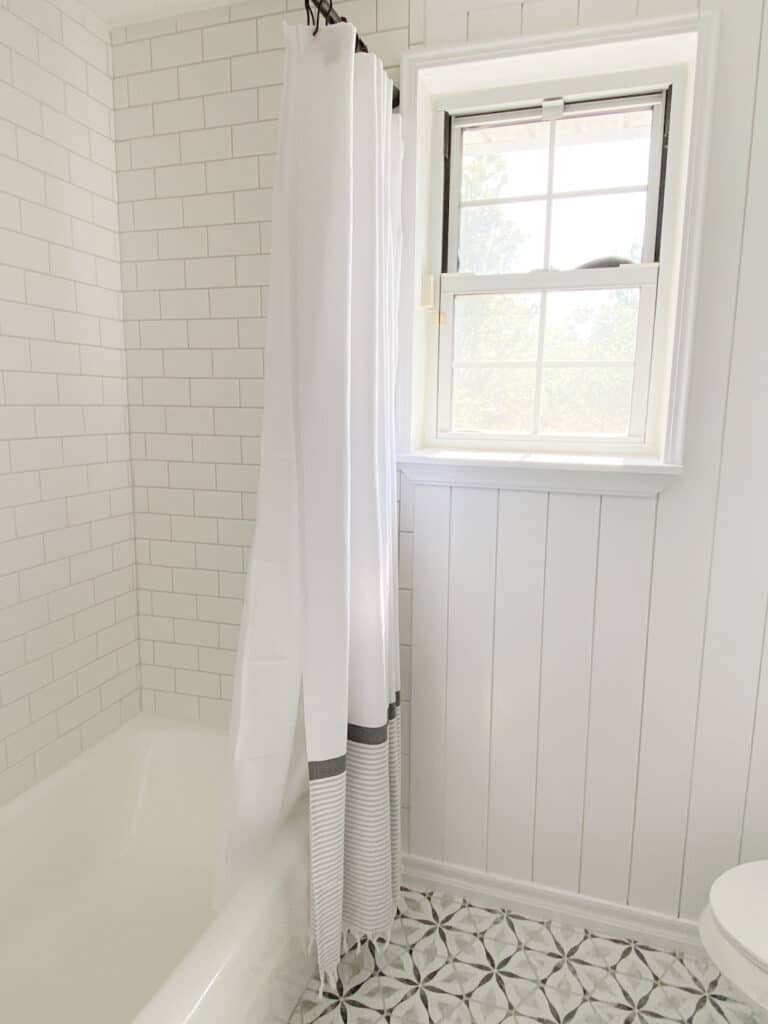
Wainscoting for bathroom walls
Installing wainscoting in a bathroom can add some much needed character to a bathroom. It is also a great way to protect the wall from water damage and mildew. But you will want to use wood or vinyl wainscoting and avoid MDF as it will absorb the moisture.
In conclusion: How to install wainscoting
In conclusion, wainscoting is a great way to add some character and protection to your walls. There are a variety of materials that you can use, including wood, MDF, and vinyl.
The cost varies depending on the supplies and the size of your space but now that you know how to install wainscoting, it can usually easily be done in a weekend!
We love how our DIY wainscoting using MDF boards turned out! Our entryway really pops now and the wall is a beautiful focal point when you first walk in the door, making the space really welcoming.