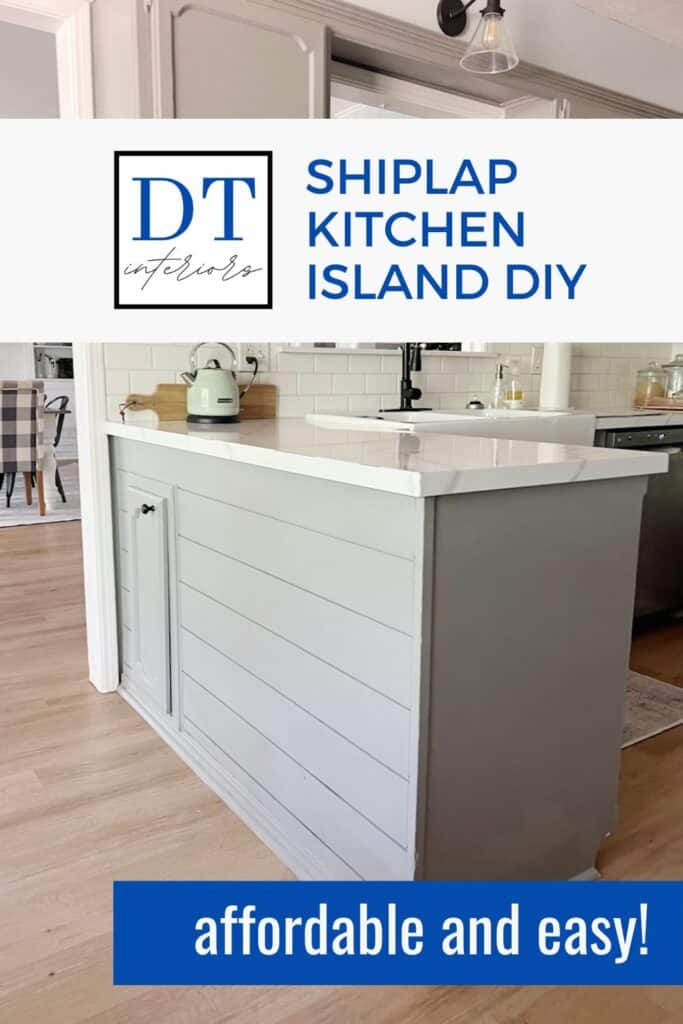
Easy DIY Shiplap Kitchen Island for $65
Adding a shiplap kitchen island to your home is a great way to give the surface some texture and interest. It’s also a simple way to add some warmth and charm to the space.
One of the first projects we tackled in our kitchen was adding shiplap to our island (I guess it’s more of a peninsula but it’s the same process). It was really affordable (less than $50 total at the time!) and made a huge impact, plus it was EASY!
This is a great DIY project for a beginner so long as you carefully measure and take your time! Let’s walk through the steps so you can have the confidence to add shiplap on your island!
If you’re needing to renovate your kitchen on a budget, be sure to check out my post on 10 Ways to Save on a Kitchen Remodel!
This post contains affiliate links for your convenience. See my disclosure policy here.
Here’s what our island/peninsula looked like before:
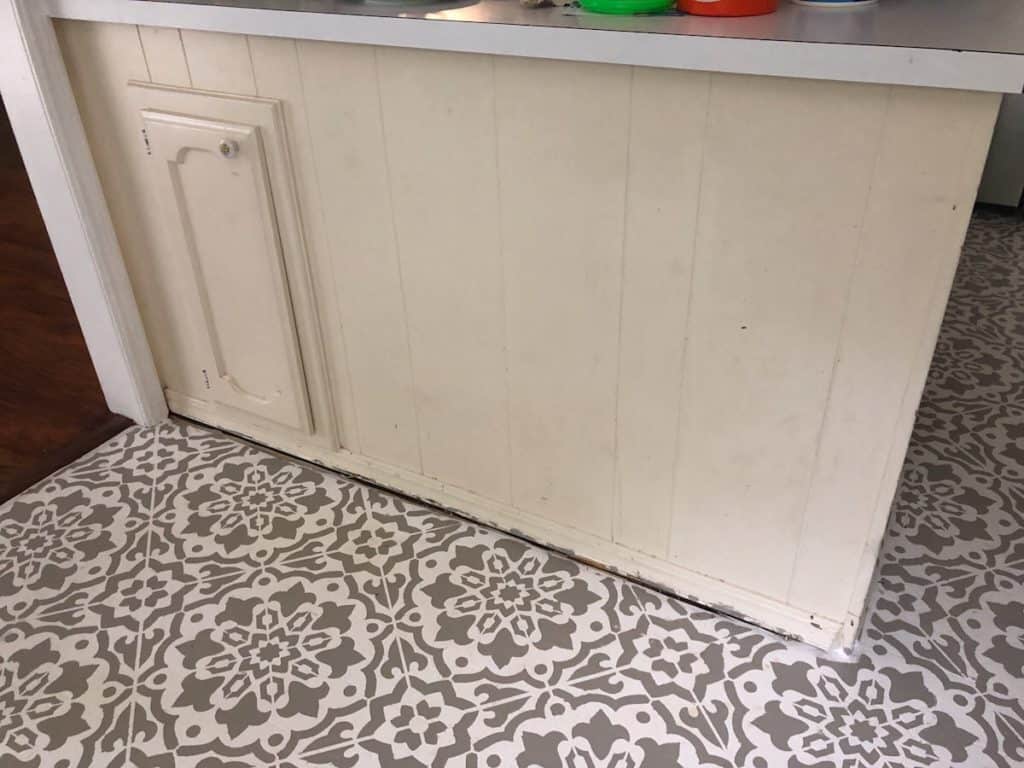
Farmhouse Shiplap Kitchen Island
Shiplap has been all the rage since Chip and Joanna Gaines made it popular on their show Fixer Upper. It’s especially popular with the farmhouse style!
While there’s part of me that wonders if it will go the way of the 1970s wood paneling in a few years, I really love the look of it! And a farmhouse shiplap island in the kitchen looks so good!
Real tongue and groove wood shiplap can be pretty pricey. We used it in our coffee nook makeover to cover up outdated wallpaper. But we only needed a small amount so it wasn’t a budget-buster.
We also used it in our main bathroom renovations where we installed it vertically. We chose to go with the real deal since it was being installed in a bathroom and we weren’t sure how MDF would hold up. You can check it out in my post on how to paint shiplap.
How to Install Shiplap on Kitchen Island
This time we decided to try a cheaper option. Our island was covered in outdated paneling and we wanted to give it an updated look. Rather than ripping the paneling off, we decided to give it a modern update with faux shiplap.
Typically, shiplap is made by cutting boards in a saw-like pattern that allows them to overlap, mimicking a milled board with each plank overlapping the next one. This technique keeps wood from expanding and contracting with humidity changes causing cracks or gaps between boards over time.
RELATED: DIY Shiplap Accent Wall
We made our shiplap out of plywood to save money, but you could definitely follow these steps using the real deal (just skip down to the installation steps)!
Supplies needed for this project:
Sheet of pine plywood OR shiplap boards
Nail gun and nails
Miter saw
Caulk gun and paintable caulk
Paint or stain of your choice
Brush
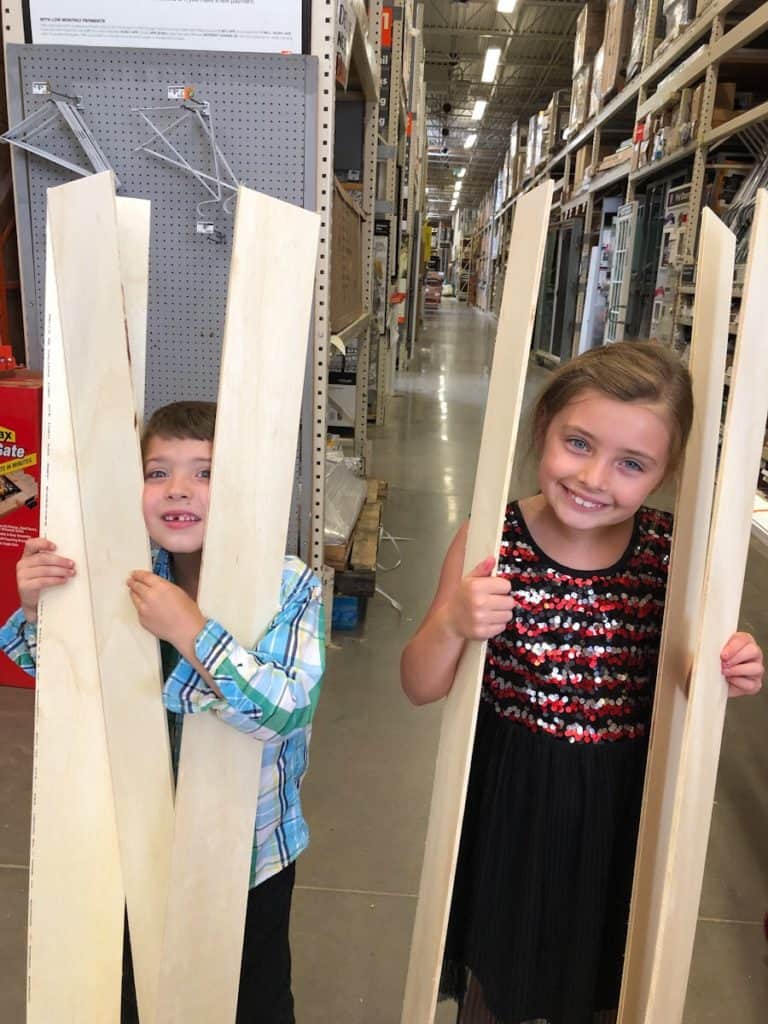
We went to Home Depot and purchased a piece of pine plywood for $23. This was 2019 so it would cost closer to $45 now. The smallest they had was 4×8 so we have some leftovers we can use for another project.
TIP: We didn’t have a table saw at the time so we asked them to cut the pieces for us according to our measurements.
Having them cut it for us was so handy. Since they cut it to size for us, Eric just had the cuts around the door making this a quick project.
People often ask how wide the shiplap should be and it’s really up to you. Some like 8 inch shiplap because they like a wider plank. We chose to do 6 inch cuts for our island, but you could go even smaller if you like the skinny shiplap look, too.

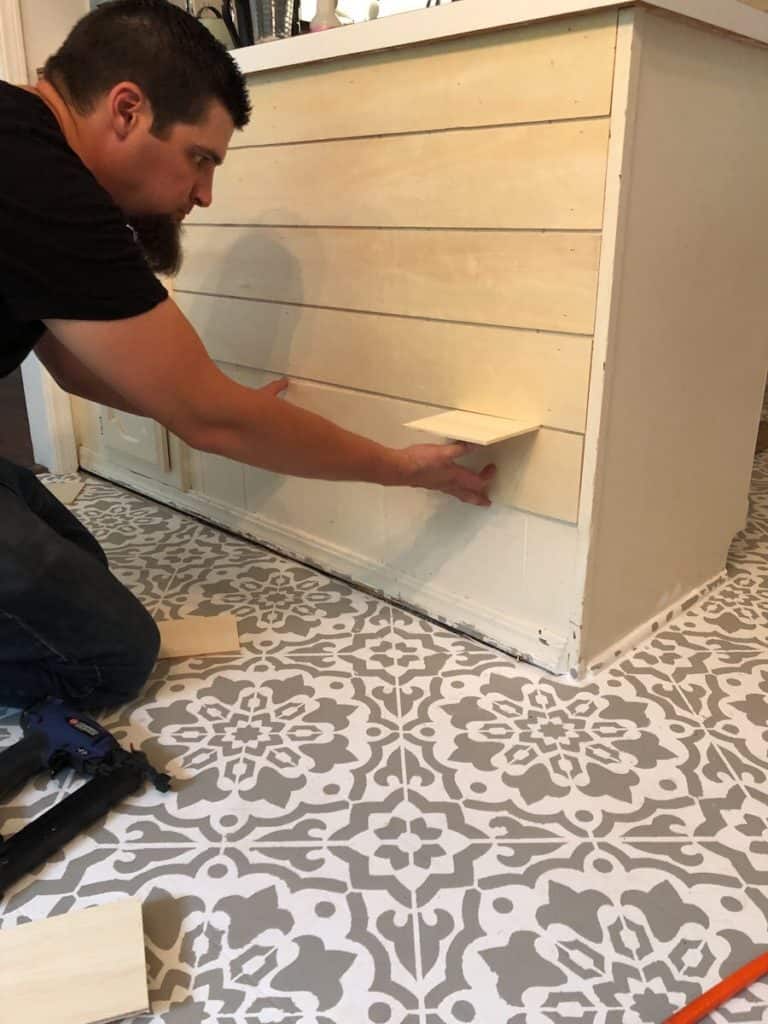
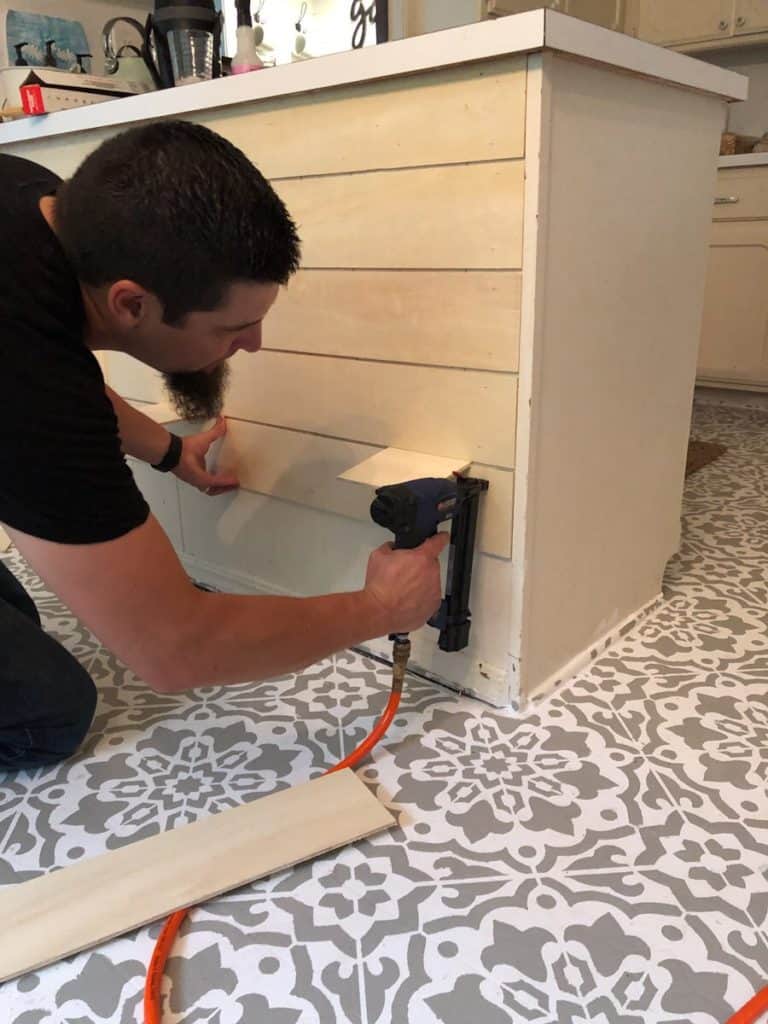
Installing Shiplap on Island
We filled in the ridges in the paneling that would show in the gaps with joint compound. Using his miter saw, Eric made the additional cuts needed to go around the door and then began attaching the boards with a nail gun.
TIP: If you don’t have a nail gun, I highly suggest investing in one. We’ve used ours for SO many projects and it makes everything go so much faster!
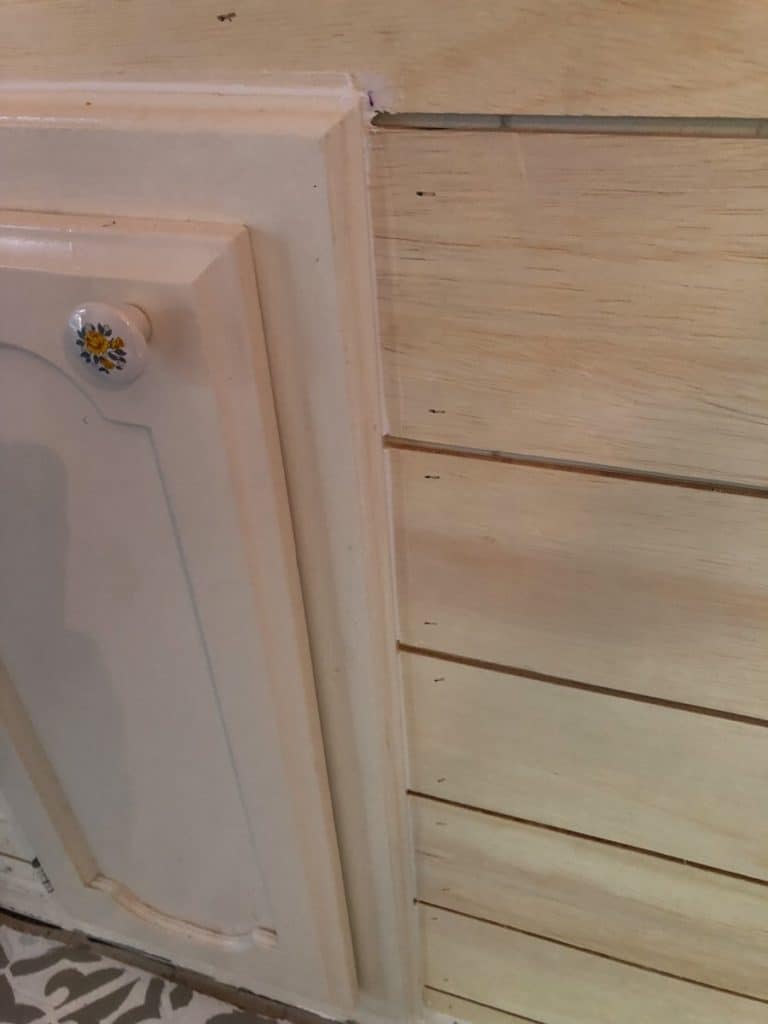
Using a scrap piece of plywood as a guide, he left about 1/4″ space between each board. If you’re using real tongue and groove you’ll just start with the first board and butt the next board up against the first and so on.
Once the boards were attached we filled in the gaps around the door and the nail holes with caulk to give it a finished look.
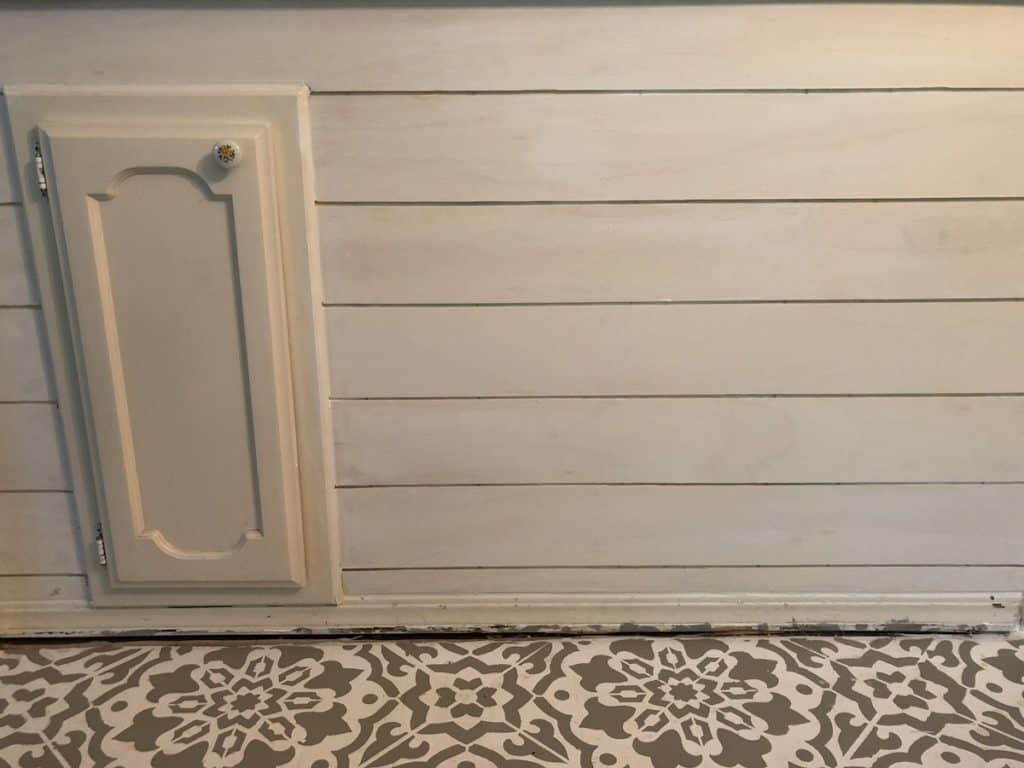
Painting the Shiplap Kitchen Island
Once the caulk was dry, it was ready for paint. I really wanted a gray shiplap kitchen island so we chose Perpetual Gray by Sherwin Williams and had it mixed in our favorite paint!
Pro tip: Use peel-and-stick Samplize paint samples for an easy mess-free way to test different paint colors!
Using a paint brush and foam roller, we gave the shiplap a coat of primer and followed it up with two coats of the gray using Valspar’s Cabinet and Furniture Enamel which I highly recommend! If you’re using pre-primed pine shiplap you can skip the priming step!
We replaced the floral knob on the door with an updated black one, completing the look! Here’s how our shiplap kitchen island turned out!


I love the change! It was a big impact for a small price and we were able to add a horizontal shiplap kitchen island to give our kitchen that classic farmhouse feel we’re going for. You could also turn the boards and do a vertical shiplap kitchen island for a more modern feel!
Go check out the YouTube video for a more in-depth look at how to add the shiplap-look to your space! This project really looked amazing after we finished our DIY marble countertops!
Shiplap FAQs
How much does it cost to shiplap an island?
The cost of shiplapping an island will vary depending the type of materials you use and the size of your island. We used plywood and ripped the boards down to size ourselves and it just cost the amount of a sheet of pine plywood and a few supplies, around $65 total.
If you use MDF shiplap you’ll pay around $149 for a package of ten 8-ft. boards. Primed pine shiplap will run you about $76 for a package of six 8-ft. boards. You’ll need to calculate the length and height of your island to figure out the amount of materials needed.
Is shiplap a dying trend?
The short answer? Yes, it’s not as popular as it was during the height of the farmhouse style a few years ago. There are ways to make it feel more modern by installing it vertically or painting it a moody color. But I say, ultimately it’s your home and if you love the style, go for it!
Pin for Later!