Design Services
Video Consult
Have design questions? Need to brainstorm with a designer on how to finish your space? Get real-time feedback and ideas on your space.
E-Design
Virtual e-Design service gives you all you need for your room design from concept planning, to product sourcing and detailed installation instructions.
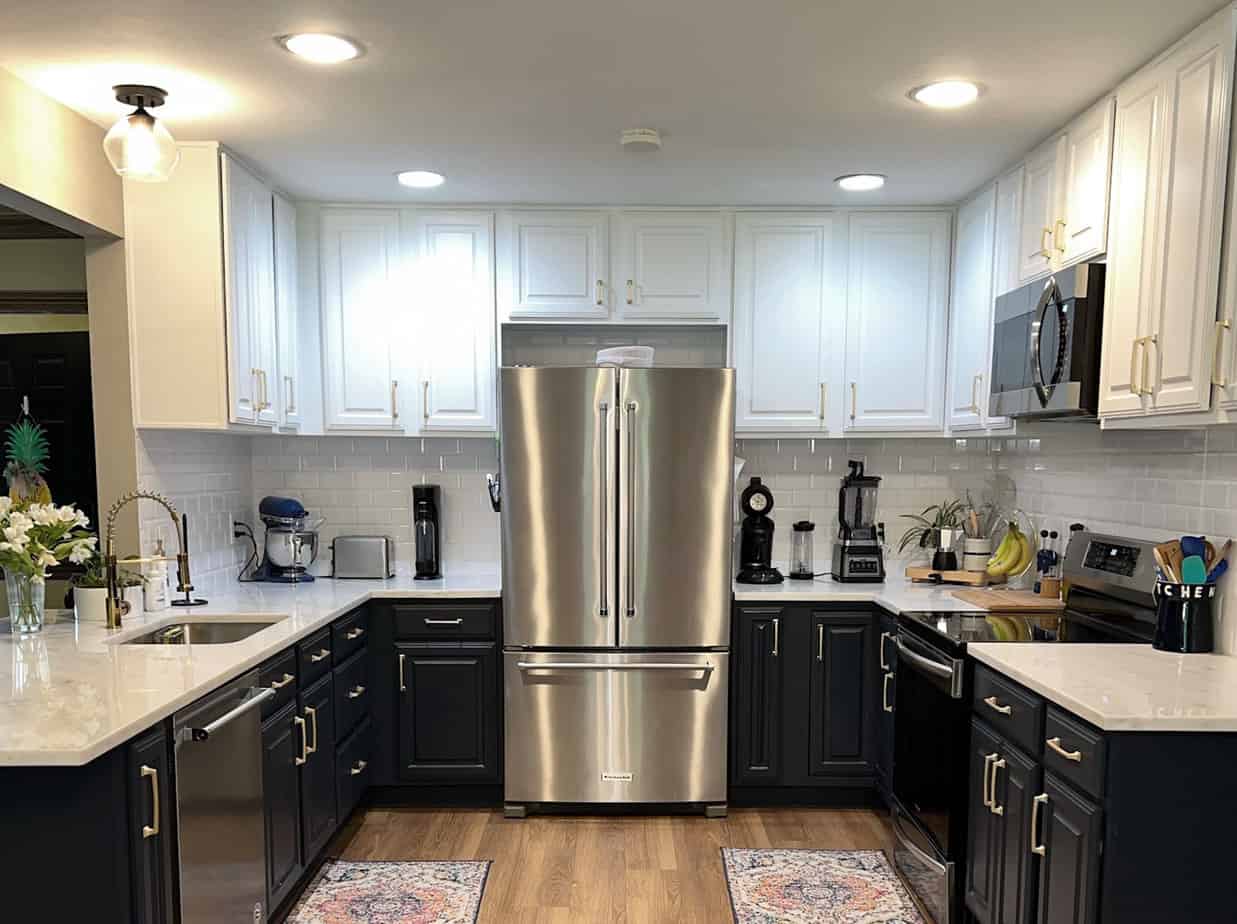
Portfolio
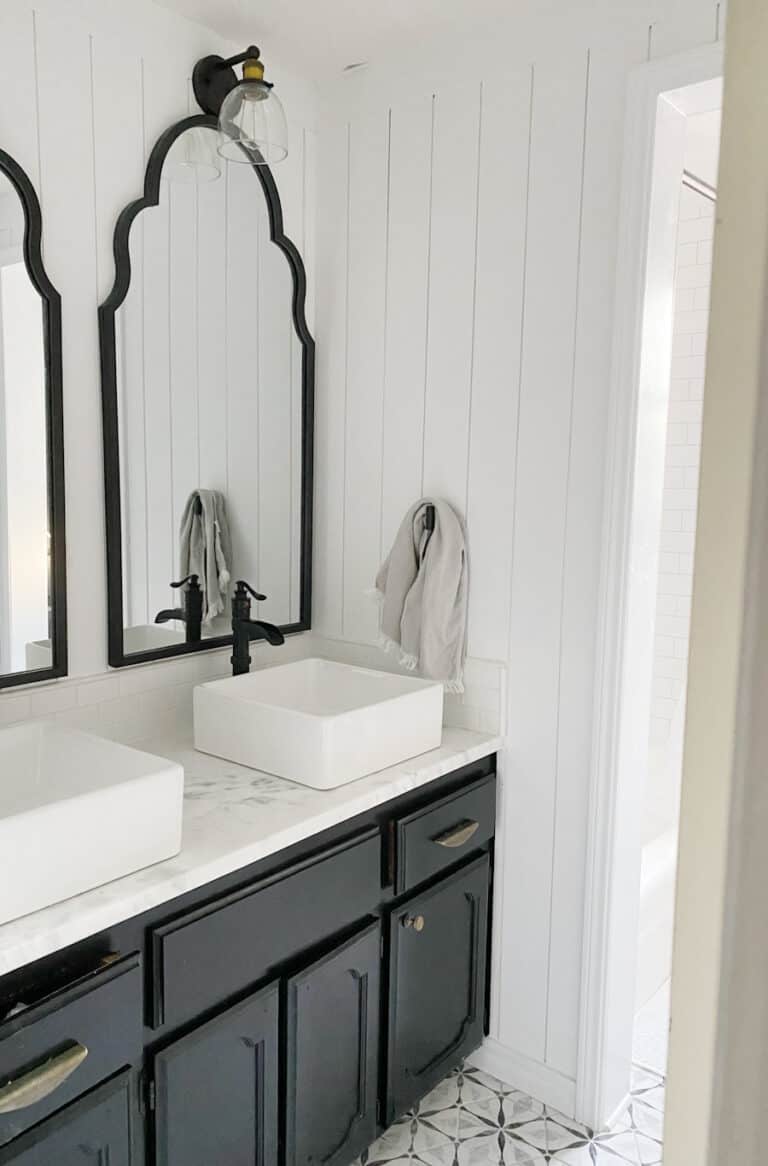
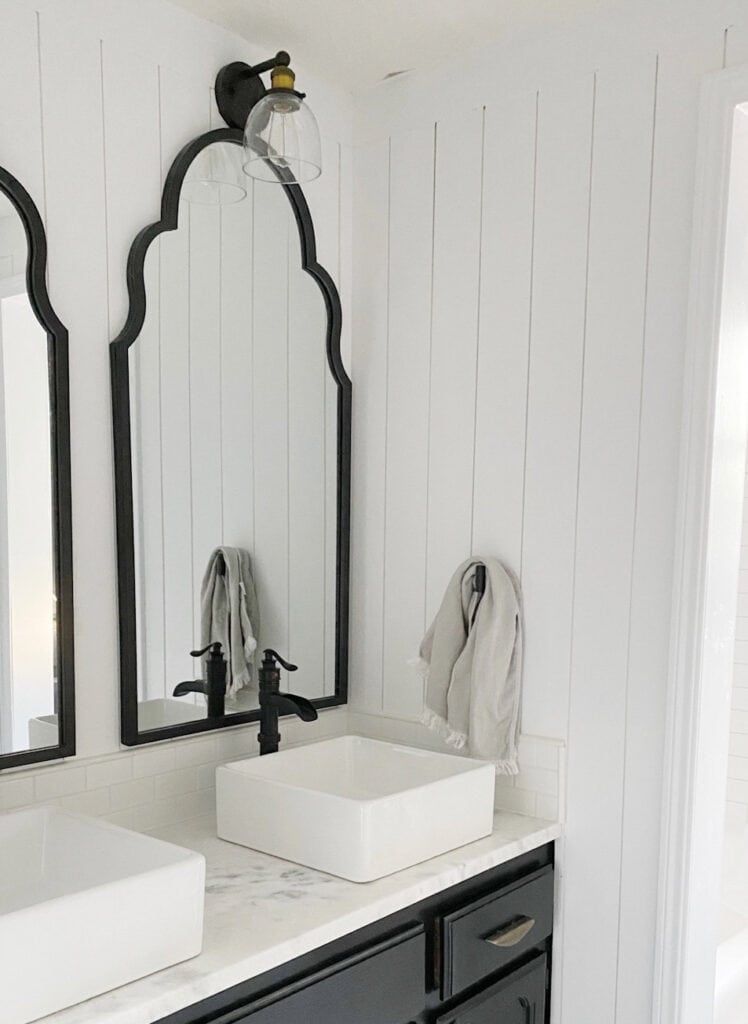
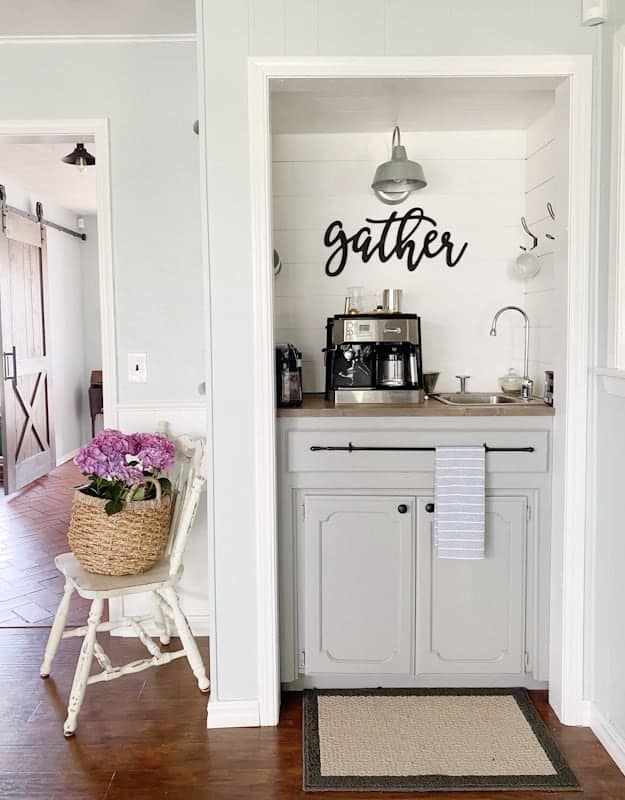
Photo gallery of home interiors and exteriors completed by Dori Turner Interiors.

Latest in Home Design

Latest in dIY