You Can Tile Over Linoleum Flooring – Here’s How
When tackling a fixer upper you come up against things you never would have thought of before.
When we were remodeling our downstairs half bathroom we didn’t want to have to remove the old linoleum floors. They ran through the laundry room and kitchen, as well, and we weren’t ready to start on those projects yet.
We wondered if our best option was to go over them.
We started asking ourselves, “Can you tile over linoleum? Should you tile over linoleum?”
These were the questions we needed answers to before we started this DIY project, so we began researching and reading about others’ experiences.
There were pros and cons of placing tile floors over old linoleum flooring.
But for the most part, what we found was that if there’s just a single layer of existing linoleum floor over the concrete slab and it’s in good condition (meaning no rips or tears), there’s no reason why you can’t tile over it.
We decided to give it a go. Here’s what you need to know! If you’re more visual, you can also watch this video on tiling over linoleum, too!
How to Tile Over Linoleum: Installation Process
For this project you need:
Wet tile saw
Your choice of tile
Tile spacers
Tile adhesive
Notched trowel
Grout
Large sponge
Bucket for water
Bucket for grout
Measuring tool like tape measure and chalk line
How to Prep Outdated Linoleum Flooring for Tile
Before you begin your tiling project, the first thing is to prep the linoleum surface. You need to make sure you’ve cleaned the entire floor thoroughly and allowed it to dry.
If there are any tears in the flooring you can either glue it back down or fill it in with spackle and then sand it down even with the floor. This will allow for a good bond.
Measure Existing Flooring
Measure the space to see how many individual tiles you need. You’ll also want to measure to find the center point of the room using a chalk line.
You always want to start your tile in the center of the space and work your way out so it’s even on all sides.
Apply Adhesive
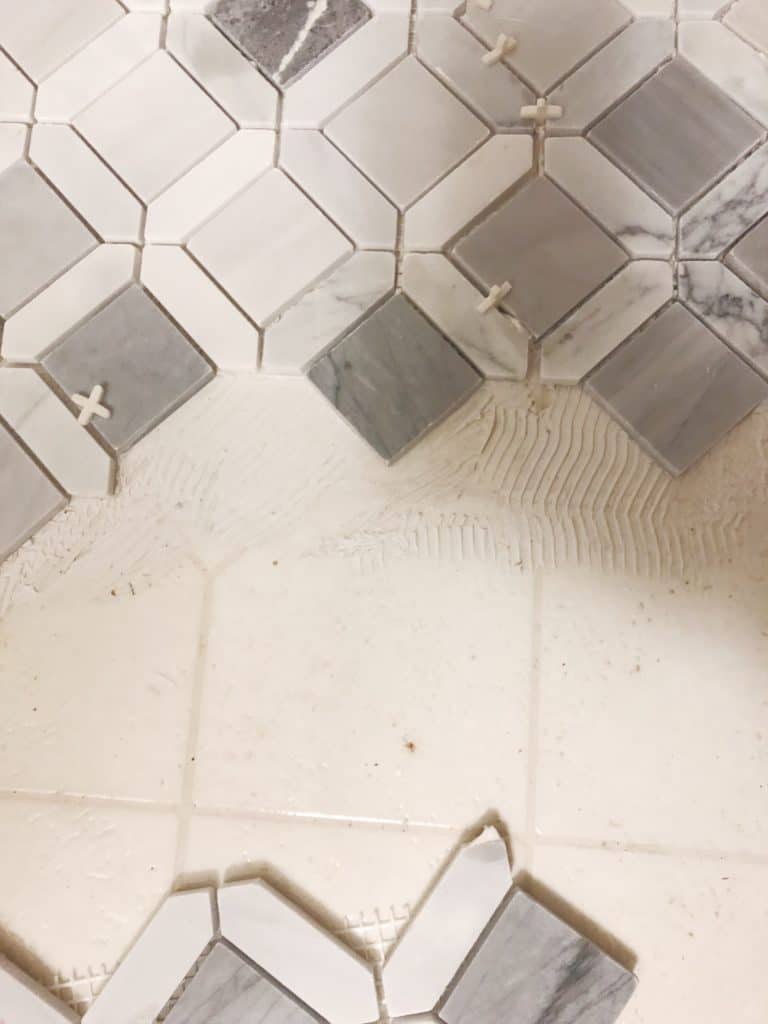
Using the trowel, apply the adhesive to the linoleum starting at the center of the room. Spread it in small sections alternating between applying additional adhesive and laying a section of tiles.
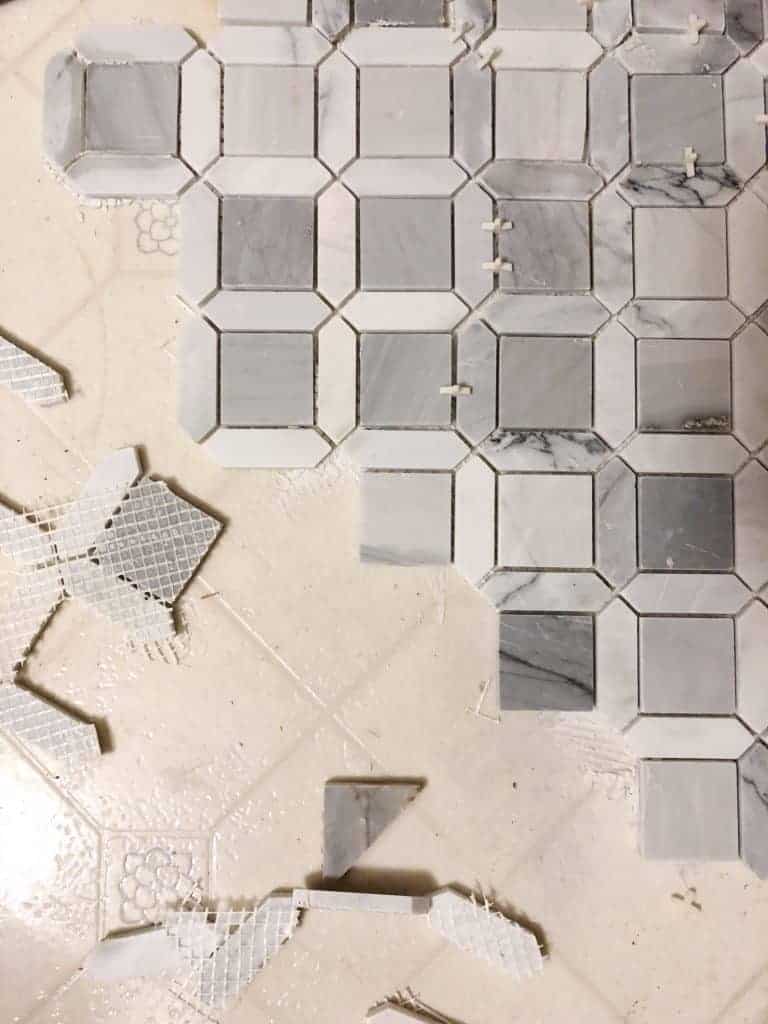
Begin laying your new tile in the pattern you’ve chosen, making the necessary cuts as you go.
For the bathroom, the pattern was already set since it was a mosaic marble tile so it was just a matter of laying the first tile down and matching the next one to it to continue the pattern and so on.
If you’re using a larger porcelain tile or other natural stone tiles like we did in our laundry room (keep scrolling to see a picture), you’ll want to decide on the pattern (like a brick or herringbone) ahead of time.
Insert Spacers
Insert tile spacers as you go to keep the spacing between the tiles uniform for the grout joints. Spacers come in various sizes so you can pick how thick you want the grout lines to be.
Allow Plenty of Dry Time
The most common complaint we read about with tiling over linoleum was that the tiles wouldn’t stay in place because of the slick surface. Many times this was because the tile adhesive was not given enough time to dry.
Once all of the tiles were laid we let them dry for a full weekend just because we didn’t have time to get back to it before then. But we made sure the adhesive was completely dry and the tiles didn’t move before going on to the next step.
Grouting
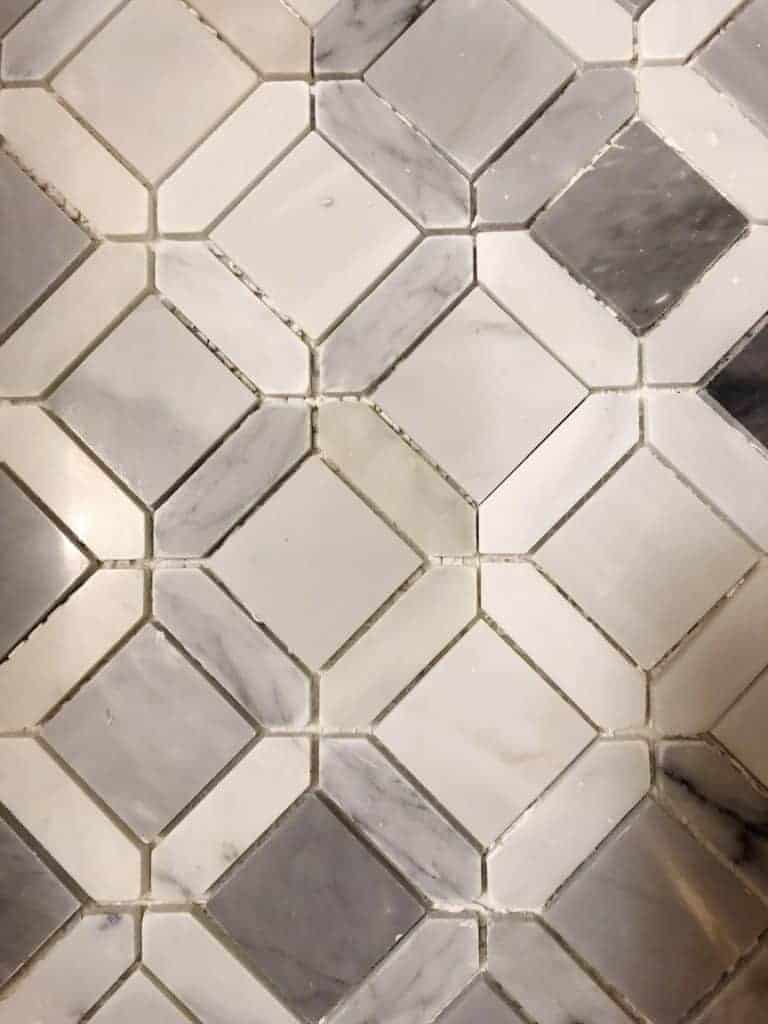
After everything is dry, you’re ready for your grout.
A tip on purchasing grout if you’re new to tiling: pay attention to whether or not it has sand in it. If you’re laying a ceramic tile, sanded grout is fine.
But if your tile is glass or marble like our bathroom tile, the sanded grout will scratch the smooth surface and ruin your tile.
If your grout did not come pre-mixed, you’ll need to follow the directions on how to prepare your grout. Once it’s ready, take your trowel and apply the grout in the lines between your tiles. This gets pretty messy!
Work in sections, applying the grout evenly. Be sure to read the directions for the grout. For ours, it required a 15 minute resting time before you could go back with a sponge to begin cleaning the access off.
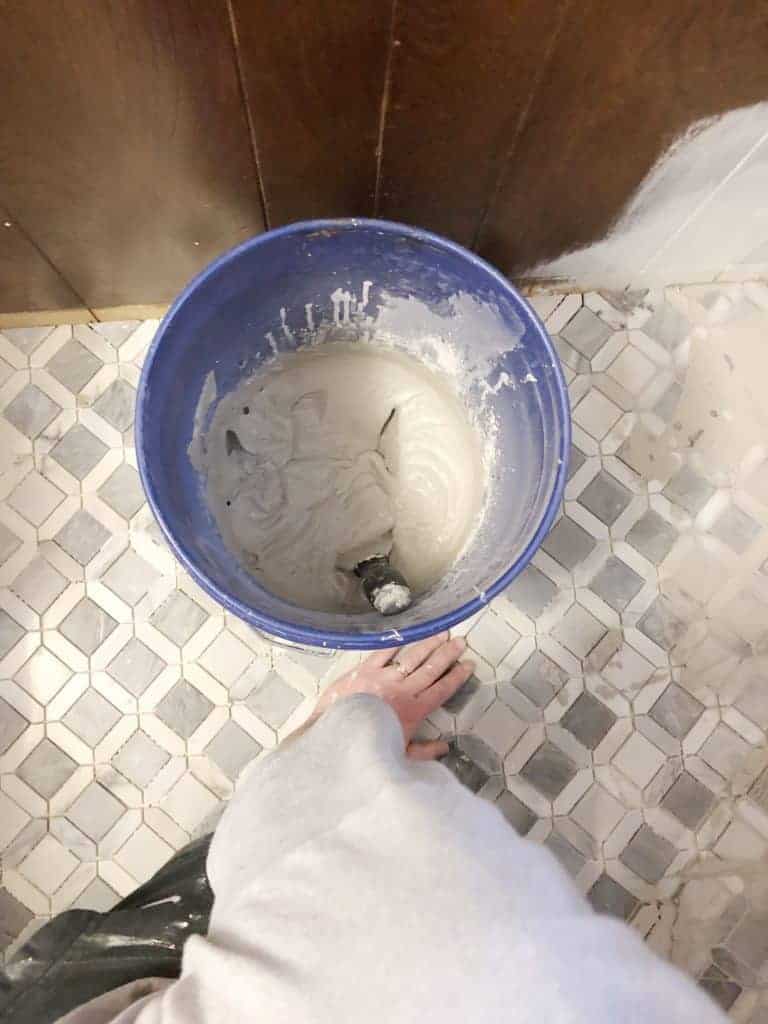
After the 15 minutes, we took a large sponge and a bucket of water and began cleaning off the tile and wiping off the extra grout.
After going over it the first time there was still some leftover residue so he dumped the old water and refilled the bucket with clean water to go over it again.
Let it Dry (Again)!
Once the grout is filled and the tiles clean, let the grout dry overnight. We allowed ours to dry for another 24 hours before we started walking on it.
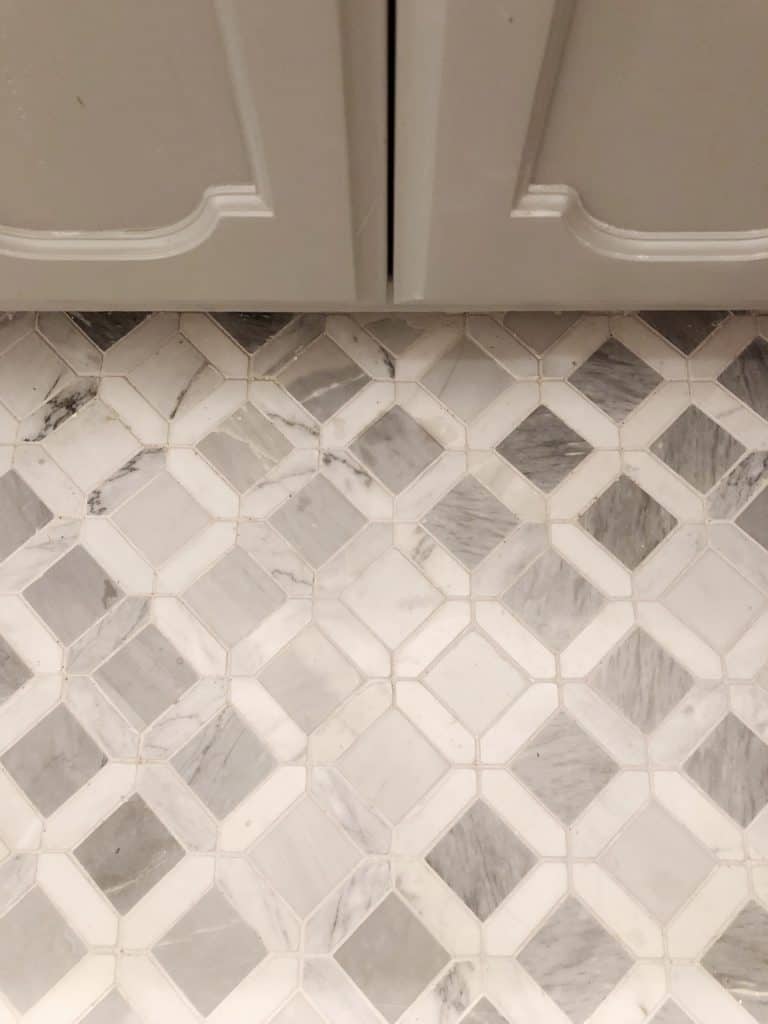
A Few More Tips
If your tile is in a high traffic area, it’s a good idea to seal it to keep it looking nice. Also, you can purchase caulk to match your grout if you need to fill in any spaces to give it a cleaner look.
We had such a great experience in the bathroom we decided to tile over the old flooring in our laundry room makeover, too.
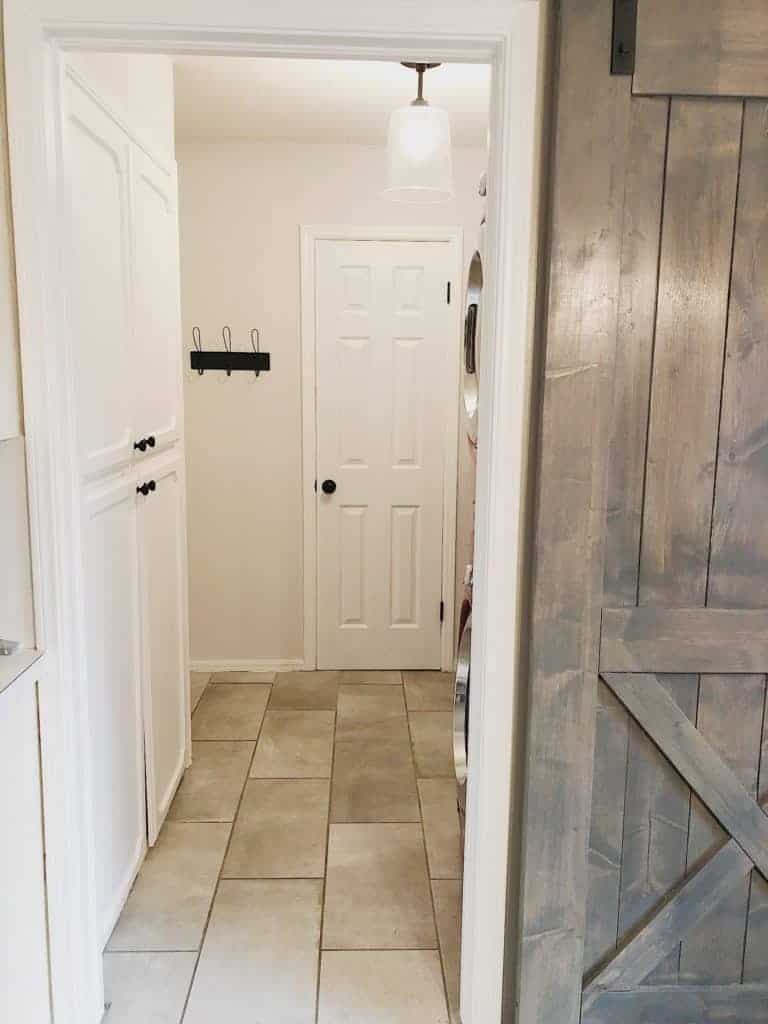
In the laundry room, we went with a large 12×24 ceramic tile that looks like concrete. Both rooms turned out great. It’s been five years and we’ve had no problems at all with having the linoleum underneath.
Tiling Over Linoleum FAQs
Do I need to remove linoleum before laying vinyl tile or sheet vinyl flooring?
If your linoleum is in good shape and is still firmly secured to the concrete floor it does not need to be removed before laying stick vinyl tile over it.
Can I lay ceramic tile over vinyl floors?
Yes, start by making sure your linoleum floor is in good shape, patch any holes and glue down any tears. Clean the floor thoroughly before starting the project. Make sure you give the adhesive and grout plenty of time to dry before using the floors.
Can you install luxury vinyl tile over linoleum flooring?
Yes, you can install luxury vinyl tile over linoleum as long as it’s in good shape and still firmly secured to the concrete floor underneath.

These are great tips. my old home had linoleum but be used cork flooring over it.
I love the tile you choose, its gorgeous!
Thank you!! Cork flooring is a fun idea too!!