How to Refinish a Cast Iron Sink on a Dime
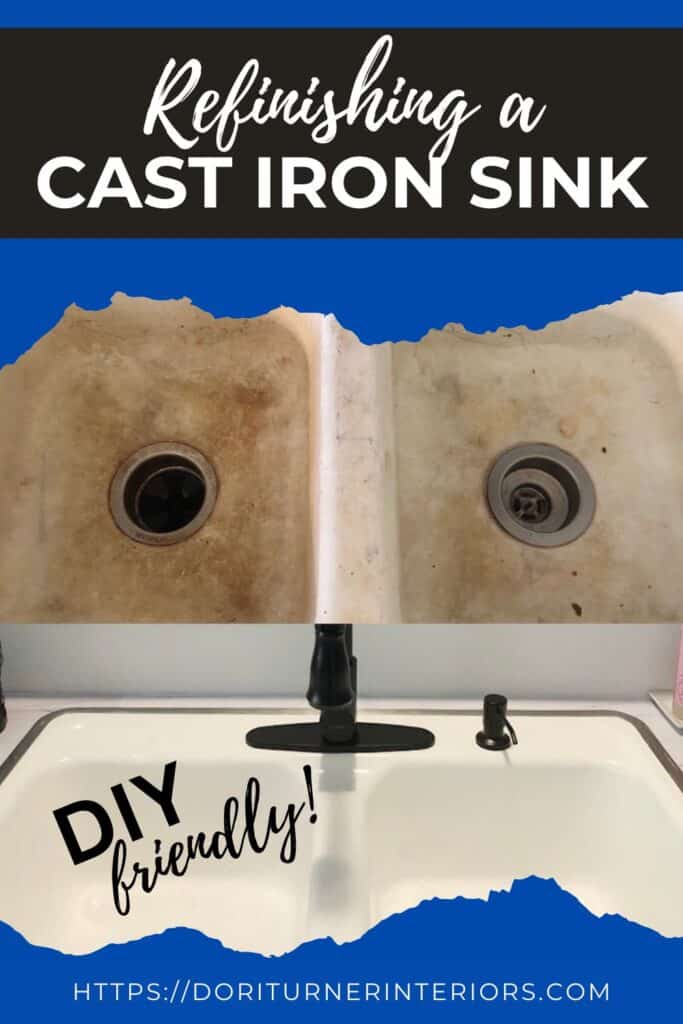
Before you decide to replace your kitchen sink read this! How to refinish a cast iron sink for around $35!
We still have a few things left on our budget-friendly kitchen makeover, but we can finally see the finish line! Today I’d like to show you how to resurface your kitchen sink for about $35!
This post contains affiliate links for your convenience. See my disclosure policy here.
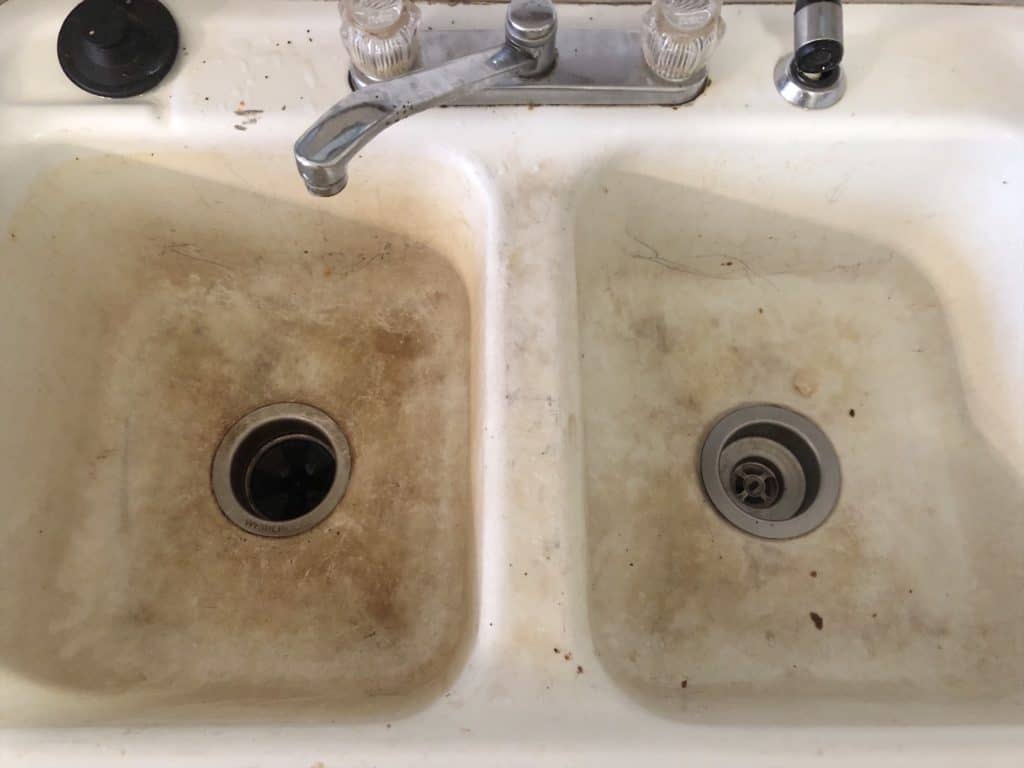
When we move into our 1970s fixer upper, our cast iron sink looked absolutely disgusting. I really wanted to replace it with a farmhouse style sink, but it wasn’t in the budget at the time. We needed another option.
Best Cast Iron Sink Refinishing Kit
I was browsing Pinterest one day and came across a blog post on how to refinish your bathroom sink. I had heard of re-glazing a bathtub and I thought, why not a kitchen sink?
We did some more research and landed on this product from PPG. It was around $35! A lot cheaper than purchasing a $400 farm sink that we didn’t have the money for at the time.
It gave us a chance to kick the can down the road a little on an upgrade while giving us a pretty sink in the mean time.
UPDATE: Two years later, we installed a Sinkology Farmhouse Sink and you can read all about it!
Refinish a Cast Iron Sink
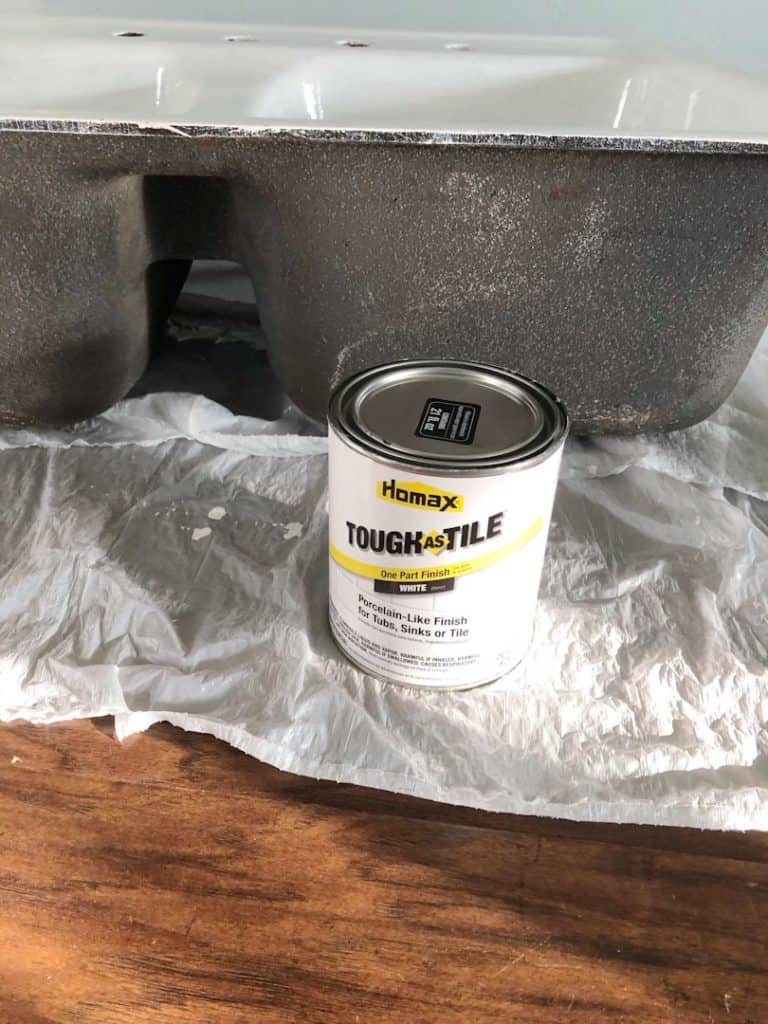
Eric removed the sink and set up a place to work on it inside because according to the directions you can’t use the product in excessive heat. Oklahoma in July? I think that qualifies!
Related Post: Kitchen Island or Peninsula Shiplap DIY
There were several steps to the projects and you need to be prepared to be without your kitchen sink for three days. There’s a lot of drying and curing in between coats.
You start by cleaning it. I mean REALLY cleaning it. Eric used steel wool to help remove the grime. Follow the instructions included in the box to clean and prep the surface.
If you’re not removing your sink for this project you’ll want to tape it off so you don’t get any of the product on surrounding surfaces.
Related Post: Beautiful DIY Kitchen Remodel (for under $1,000!)
Now you’re ready to begin applying the product. Brush on the first coat in a thin, even layer. Thin layers ensure there are no drips.
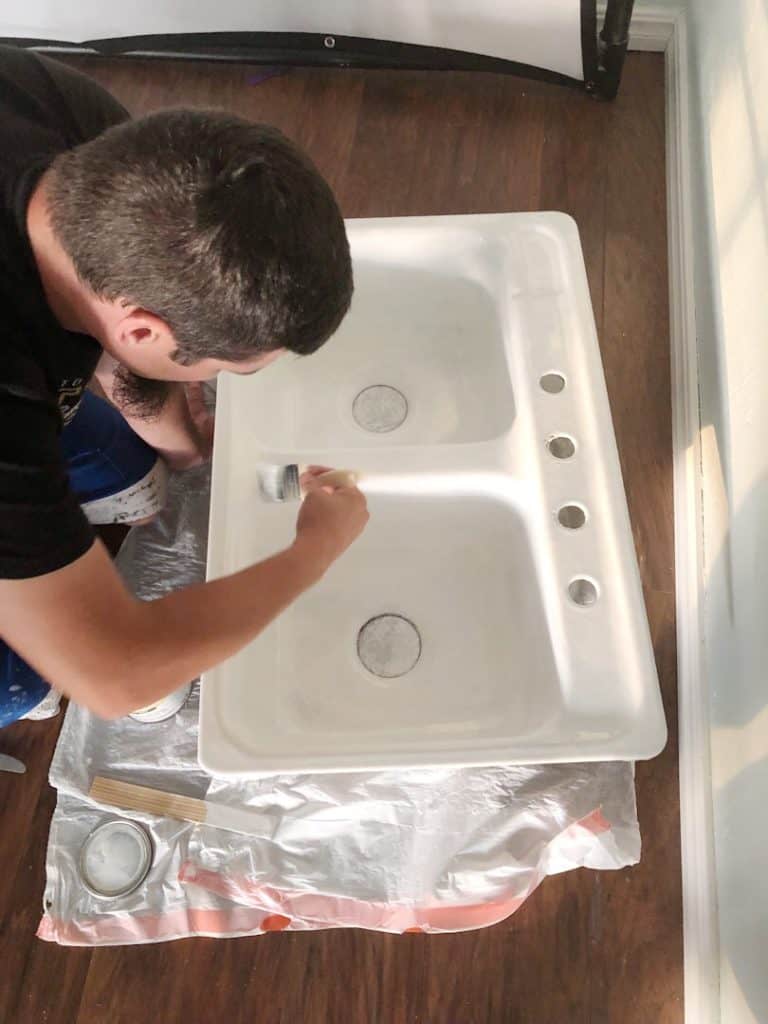
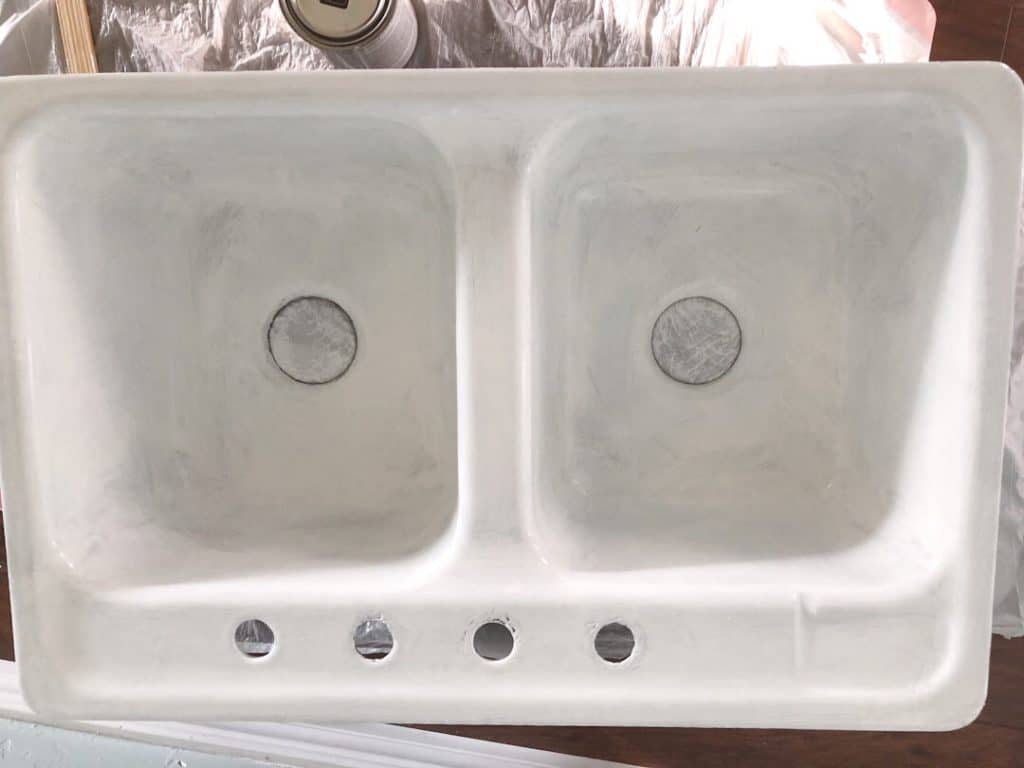
Once you’ve brushed on the first coat, you need to allow the sink to dry for at least three hours but not longer than six before applying the second coat with a new brush.
Do not reuse the previous brush. There may be leftover particles from the first coat that could appear on the surface of the sink. Repeat this step for the third coat.
Once you’ve applied the final coat, allow the sink to cure for at least 48 hours. DO NOT RUSH IT!
We had company coming in town so we re-installed it and started using it a few hours before the allotted time was up and it had not completely hardened.
We’ve had a few places where it peeled off the surface because we didn’t wait like we were supposed to, which is really annoying! It still looks good, but not as good as it could’ve had we allowed it to fully cure.
Again, make sure you read the directions completely before starting the project to make sure you have everything you need to complete this sink makeover!
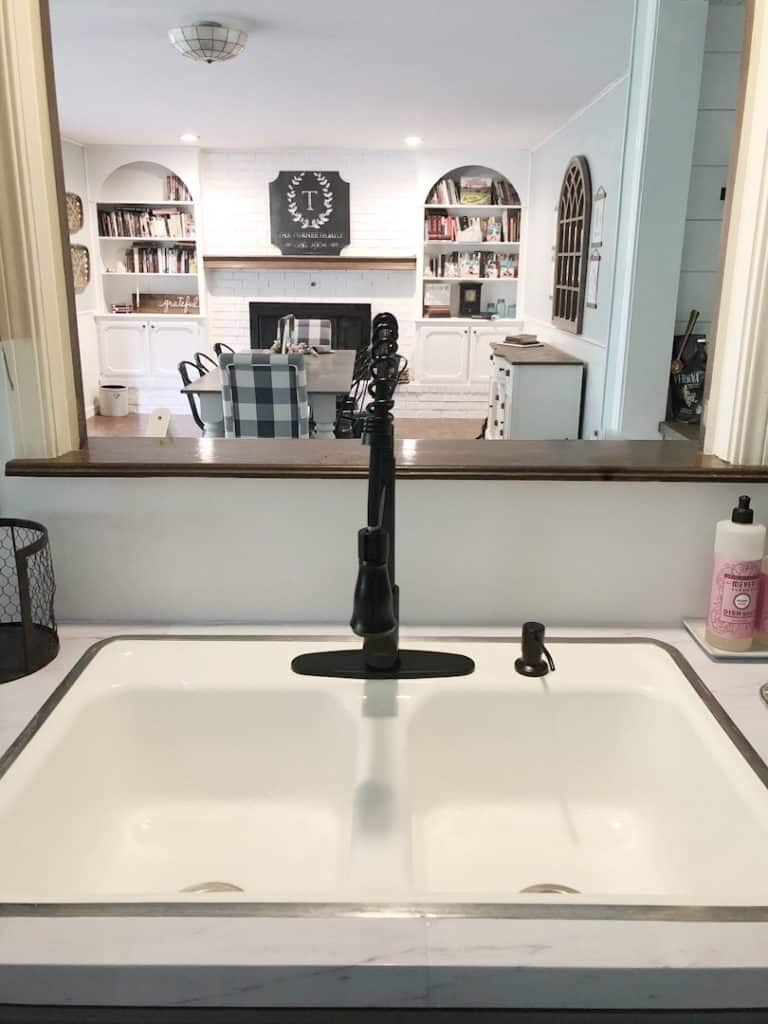
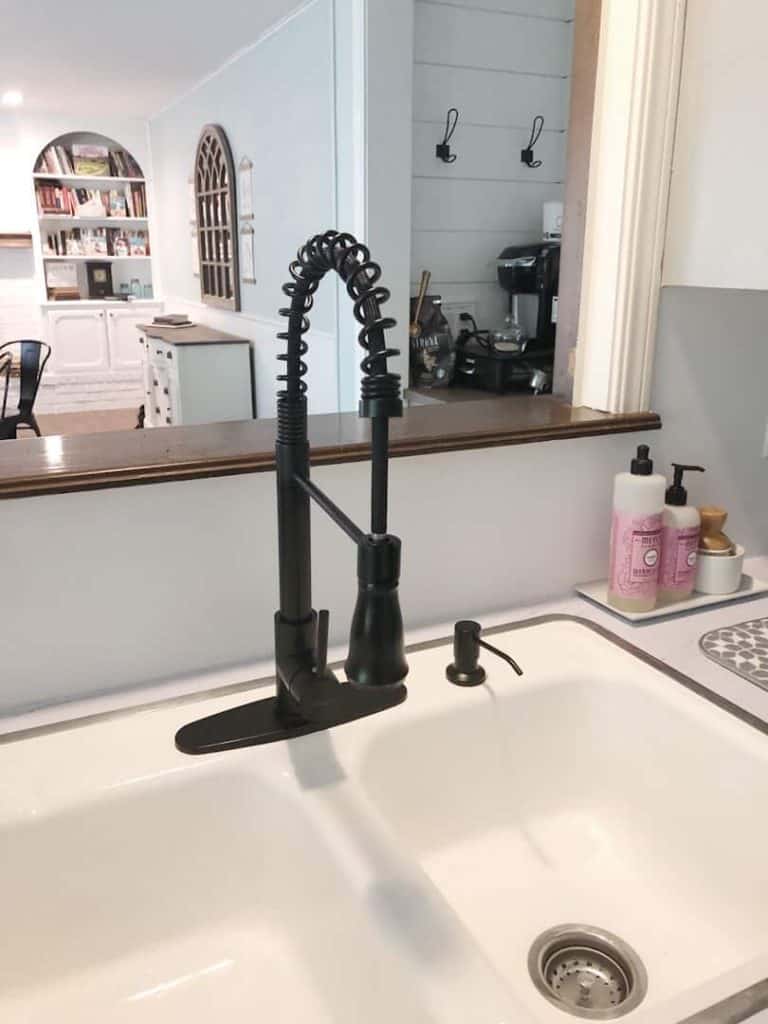
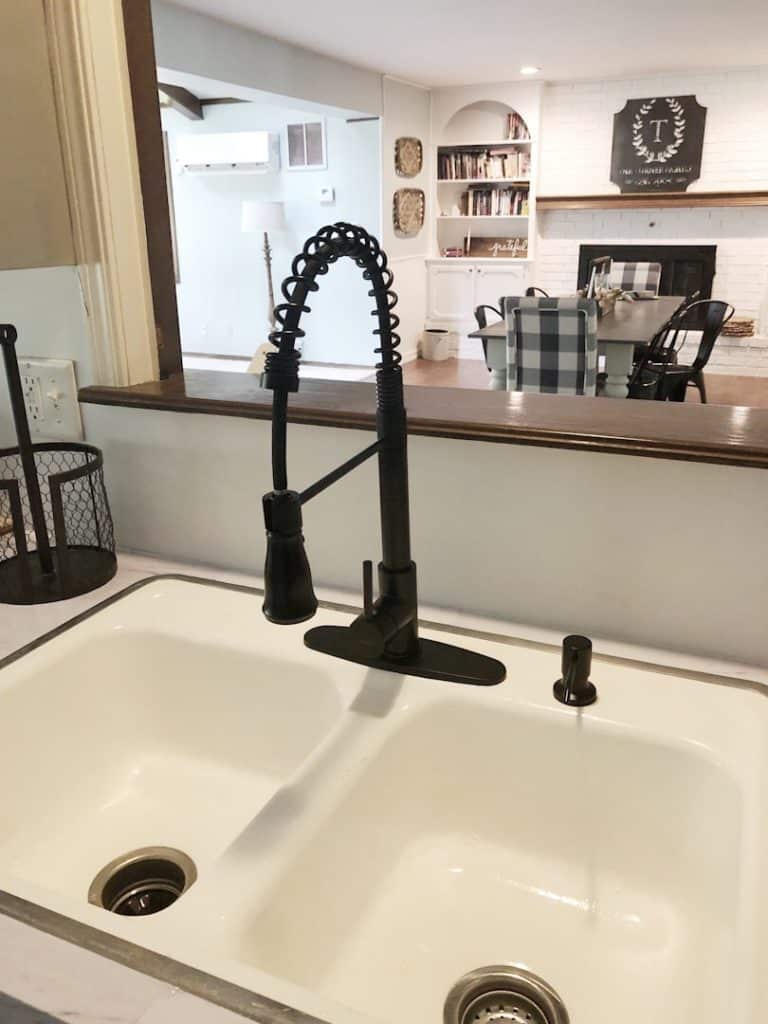
What do you think? Big transformation for around $30!
If you’re like us and don’t have the money to replace your current sink, consider refinishing a cast iron sink instead. It’s affordable and looks like new when you’re done!
How to Restore an Enameled Cast Iron Sink FAQ
Can cast iron sinks be refinished?
Yes, cast iron sinks can be refinished! You can choose to hire a professional to do the job or purchase a kit like Homax Tough as Tile and do it yourself.
How much does it cost to refinish a cast iron sink?
If you hire a professional, you’ll pay between $300 and $500. If you choose to DIY it, you can purchase a kit for around $35 to $40.
Is reglazing a kitchen sink worth it?
Reglazing can be a great option if you’re on a tight budget. Even paying a professional can save you hundreds compared to buying a new sink.
If you love the style and look of your sink in your home but it needs some love, then reglazing is a great choice.
SHOP MY AMAZON STOREFRONT!
We decided to change out the faucet at the same time and also added a soap dispenser since we no longer needed the sprayer. And let me just say, I LOVE the new faucet! It looks great, was affordable, and it does a great job!
You can check it out on my Amazon Storefront along with the other finishes in our kitchen!
Pin for Later:
