Door Moulding DIY: How to add Moulding to Make a Paneled Door
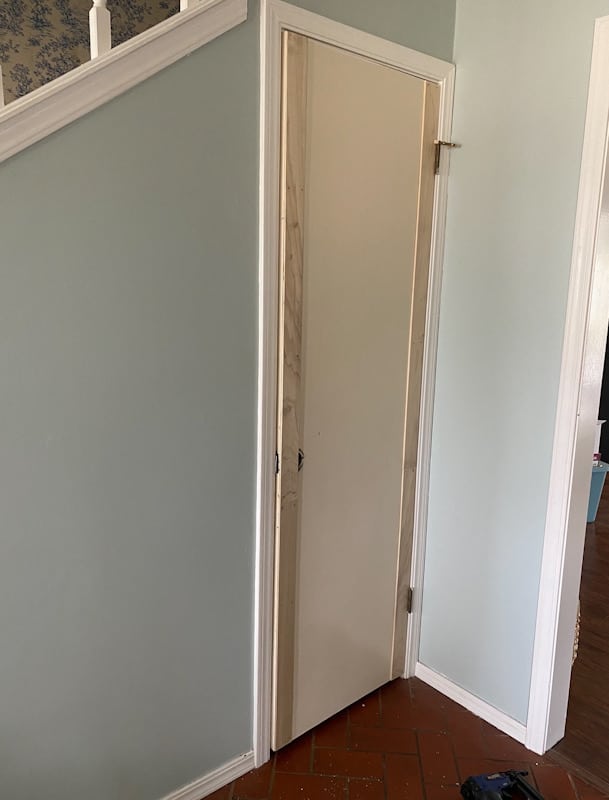
Our home was built in the early 1970s, and it came with flat, hollow-core wood doors. At some point, they had been painted a cream color and still had old brass doorknobs and hinges that looked outdated.
At first, we planned to replace all the doors. We even replaced the one in the guest bathroom. But then we found a cheaper and easier option—adding trim to the flat doors to give them a paneled look.
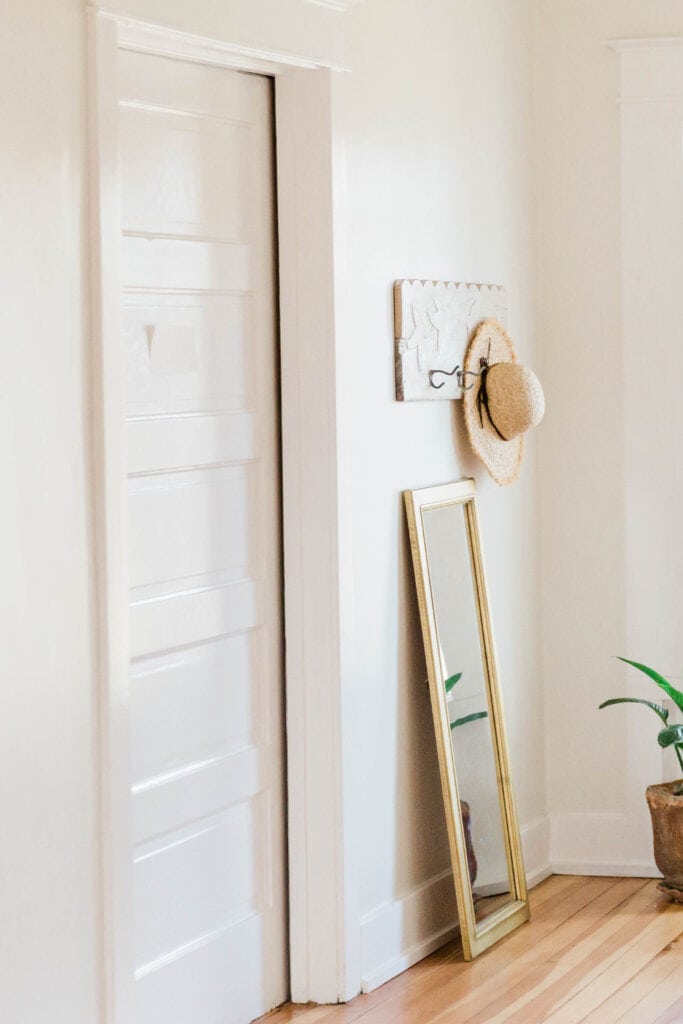
Once we tried it on the entryway door, we loved how it turned out. It gave the door a fresh, updated style without the cost of buying a brand-new one. Now we actually prefer this DIY look over replacing the doors completely! For one, as your home ages, it settles and things aren’t quite square anymore. This makes it difficult when installing new doors.
RELATED POST: BEST WAY TO PAINT A DOOR WITH WINDOWS
When we installed the new door to the guest bathroom there was a gap and the door didn’t shut right because the doorway wasn’t even anymore. The old flat door had settled with the house, but the new door had to be adjusted to fit the uneven doorway and it still isn’t quite right.
Another reason we liked adding moulding to the flat door more, is that it was cheaper than purchasing a new door. For less than $20 we gave our flat door a whole new look!
And finally, we ended up liking this method more because it was SO EASY! Adding moulding to a flat door is a simple project that added SO much with little time and effort!
DIY Door Moulding Tutorial
Assuming you already have most of the tools, you only need a few materials to complete this project so let’s talk supplies!
Supplies:
4″ x 1/4″ pine plywood strips (we purchased the strips at Home Depot)
2 1/2″ x 1/4″ pine plywood
Miter saw
Jig or hole saw
Nail gun, nails
Wood glue
Wood filler
Paint
New hardware (if desired)
Step 1:
First, using a miter saw, cut the 2 1/2″ x 1/4″ to the length of the door. Our door measured 2′ x 6′ 8″ so we cut the boards at 6′ 8″. You can choose to remove the door or leave the door on. We chose to leave it on.
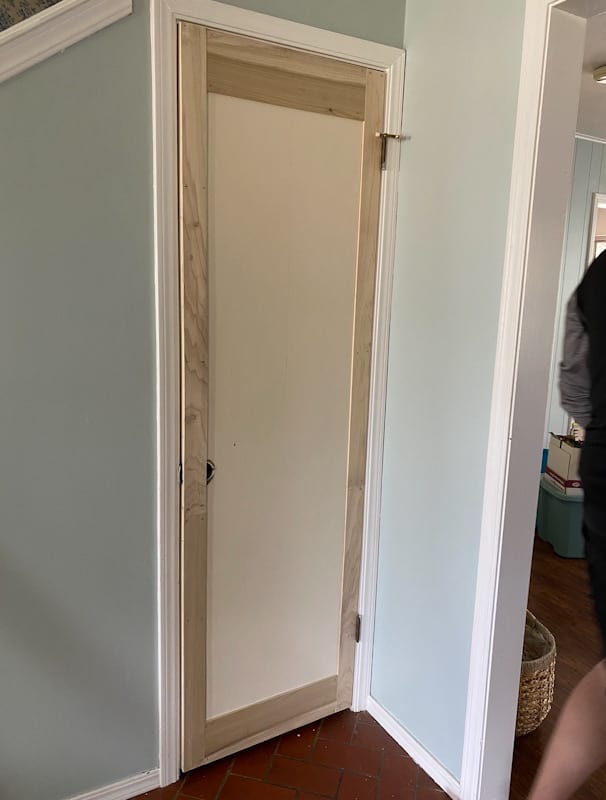
Step 2:
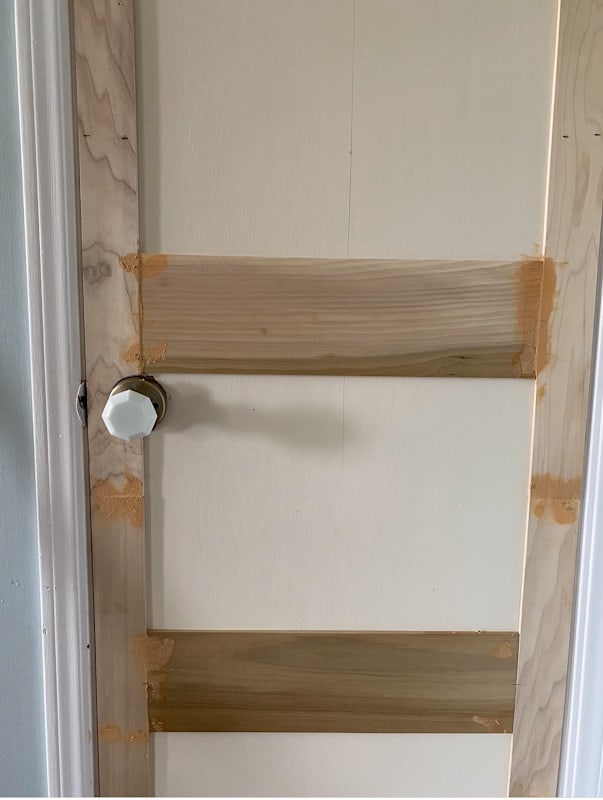
Using wood glue, attach the boards to either side of the door. Then use a nail gun to secure the boards to the DIY panel door. Fill the holes with wood filler.
Step 3:
Using a jig saw or hole saw, cut the wood where the doorknob will go.
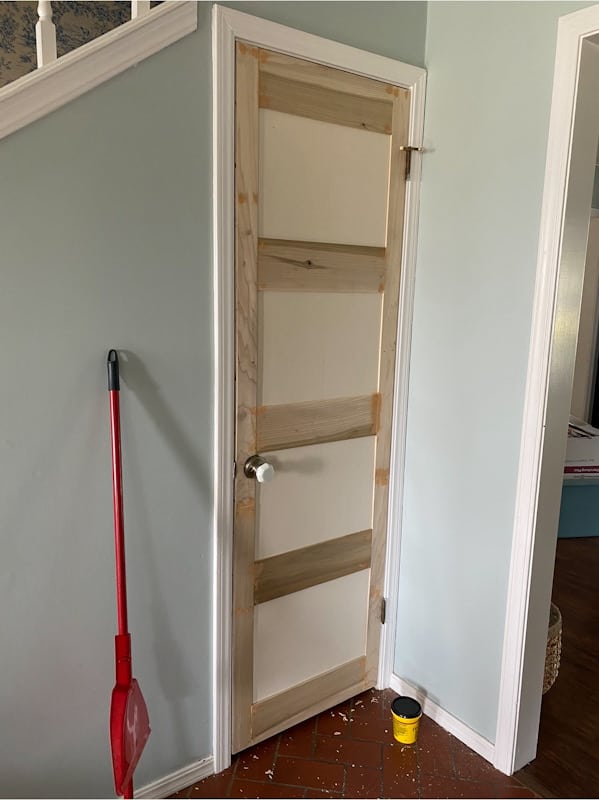
Step 4:
Next, cut the 4″ x 1/4″ strips to size for the top, bottom and middle panels. For our door, we needed to cut them at 18 3/4″. We decided to have four panels on the door so we needed to cut five pieces.
Using the wood glue, attach the top and bottom panel, then nail into place with the nail gun. Measure the distance between the top and bottom board to find the middle and place your next panel, gluing and nailing it into place.
Then measure the distance to the center again between the top and middle and the middle and bottom panels and attach the last two panels.
Step 5:
Fill all of the nail holes with wood filler, as well as the seams between the panels to fill in the gaps and make it look cohesive.
Step 6:
After the door is dry, sand down the spots where you filled in the nail holes and any other rough areas and wipe clean with a damp towel. Now your DIY panel door is ready for paint!
How to Paint Hollow Core Interior Doors
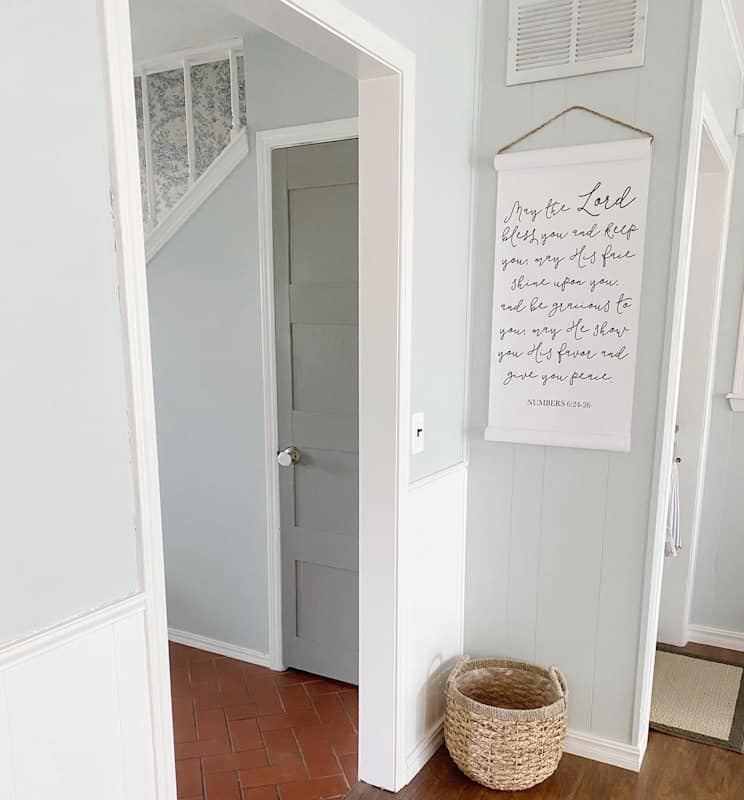
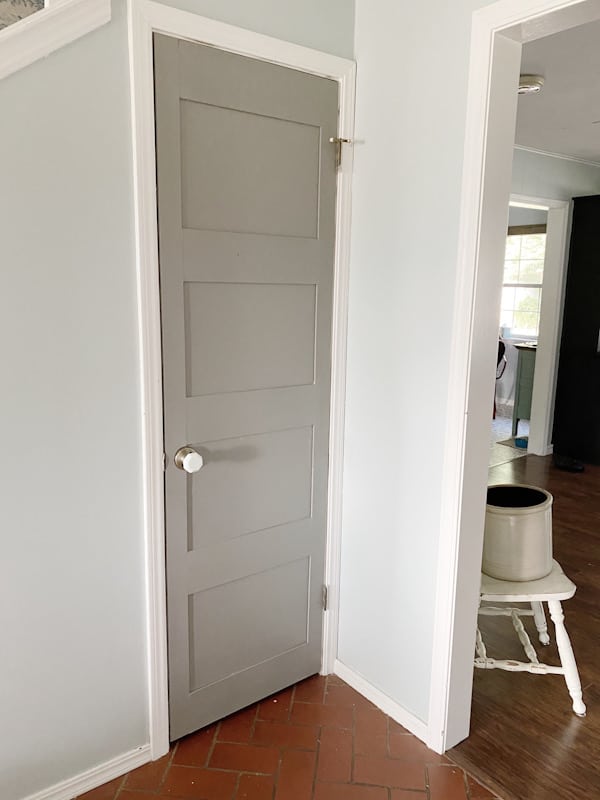
For our door, we chose Sherwin Williams Perpetual Gray to match our front and back door. We had it mixed in Valspar’s Cabinet and Furniture Paint and gave the door two coats.
We used a foam roller for the larger areas of the door and then an angled trim paint brush to get into the corners and nooks of the DIY panel door.
If you’re changing out your hinges, this would be the time to take care of that.
We ended up keeping our hinges because we were given a marble doorknob that came from my hubby’s great-grandma’s farmhouse in Missouri that we wanted to use and it went well with the hinges we already had.
Reattach your DIY panel door to the hinges if you removed it and install the doorknob. You now have a beautifully paneled door and can add moulding to a flat door any time for a cheap and easy upgrade!
Adding trim to flat doors is such an easy and affordable way to update your home. It gives plain, old doors a fresh, custom look without spending a lot of money. We’re so glad we tried this project—now our door looks stylish and modern, and it was something we could do ourselves! If you’re thinking about replacing your doors, try this first—you might love the results as much as we do.