Wax Finish: The Pros and Cons + Tutorial
The pros and cons of using a wax finish over chalk paint and how to apply it!
Contents
Today I’m going to share a tutorial on using a wax finish on furniture after chalk painting.
I’ve been using chalk paint and sealing wax finish for over many years now and have learned several tips and tricks along the way!
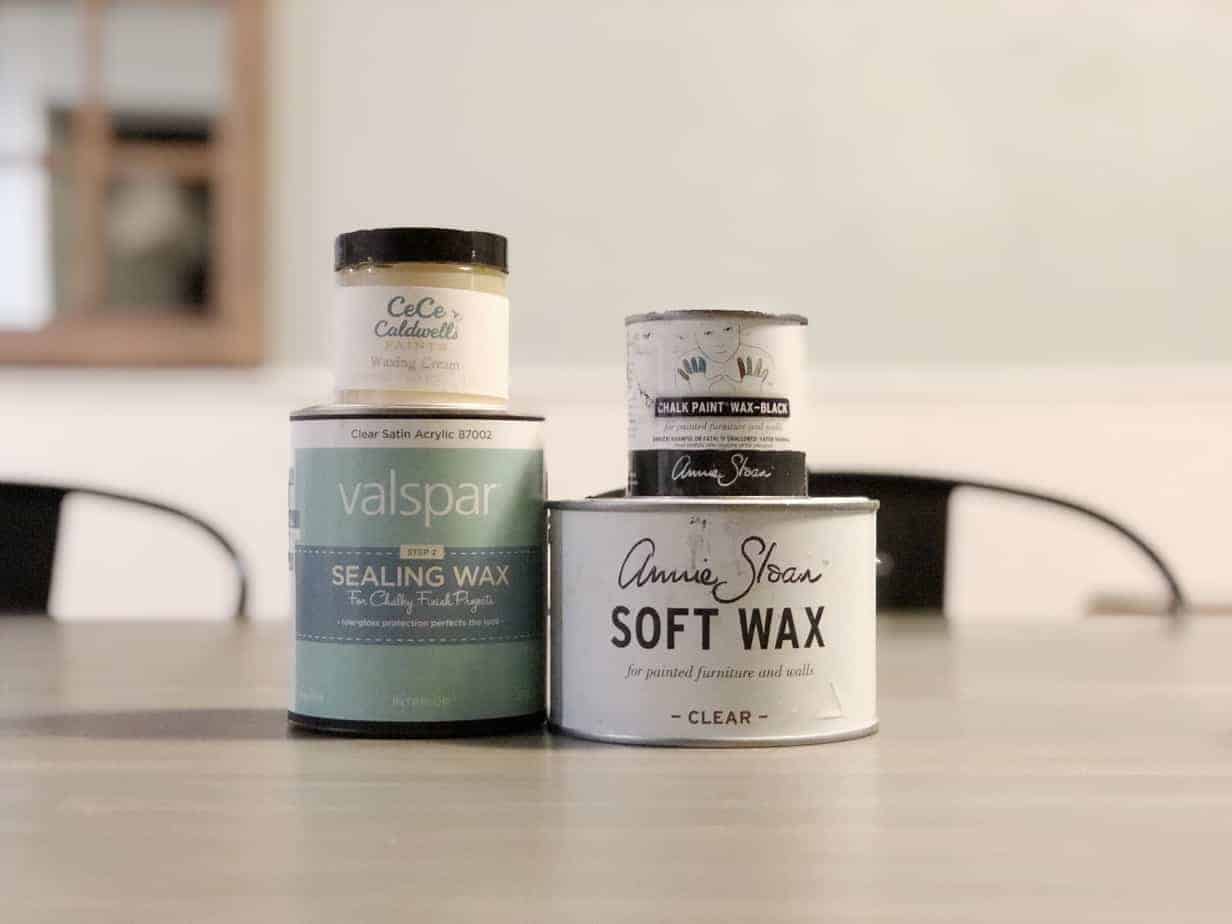
So after you’ve painted your piece and let it dry (preferably overnight) it’s ready to topcoat. A wax finish is a very popular topcoat for chalk paint and it has some definite pros and cons! Let’s jump in!
Don’t forget to grab the right chalk and wax paint brush for your project!
Wax Finish Pros
Wax is relatively easy and quick to apply. Depending on the brand, you either brush or rub it on and leave it, or brush it on and wipe off the excess.
The dry time is fast and it leaves a silky smooth finish. It also allows you to be more creative with dark waxes and creams. And it can protect your beautiful chalk-paint finish for years to come!
Wax Finish Cons
To ensure a beautiful outcome, you have to take the right steps from the start. I learned this the hard way and it took me having to completely redo a couple of pieces before I figured it out.
If any kind of furniture polish or wax has been used on the original finish of the furniture over the years to retain the shine, etc. it will likely bleed through.
In my experience, it didn’t show up until I went to apply the wax or topcoat. I don’t know if it was a chemical reaction that caused it to show when the wax was applied or something else, but it would cause the finish to yellow (if the piece had been painted white) or to be streaky (colors other than white).
There is nothing more frustrating than having to completely repaint a piece of furniture!
To prevent this catastrophe, if you think there’s even a chance that furniture polish was used on your piece, you’ll want to prime it before painting. It’s an annoying extra step, but one you’ll be glad you took the time to do.
Another con is that if the piece is a high traffic piece (one you use a lot) it’s recommended that you reapply the wax once a year.
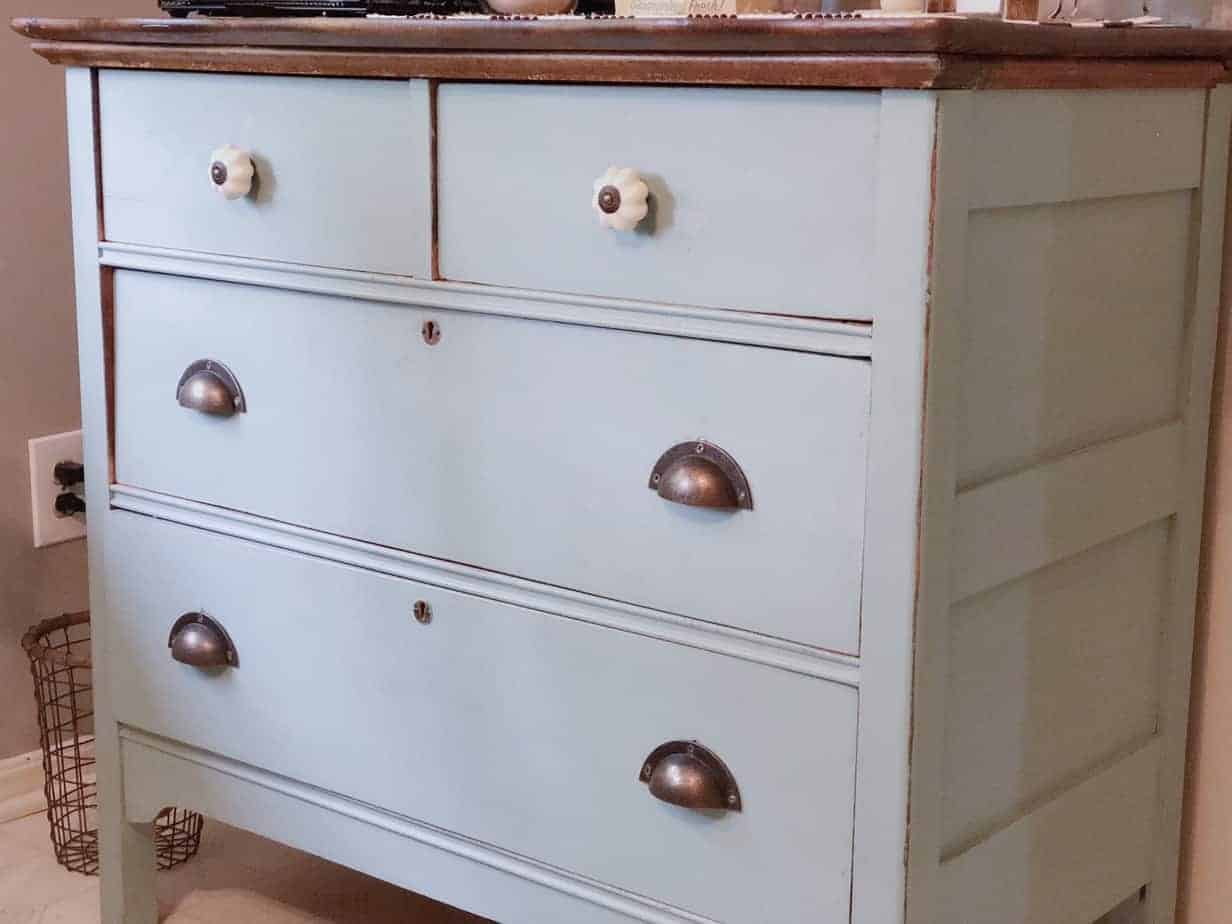
Now, that said, I refinished this piece for my coffee bar several years ago and have not reapplied the wax and the finish still looks great even after moving to a new home.
Also, you can’t use any kind of cleaner on the finished piece unless you intend to reapply the wax topcoat. A damp cloth is recommended for cleaning.
Sealing Chalk Paint with Wax
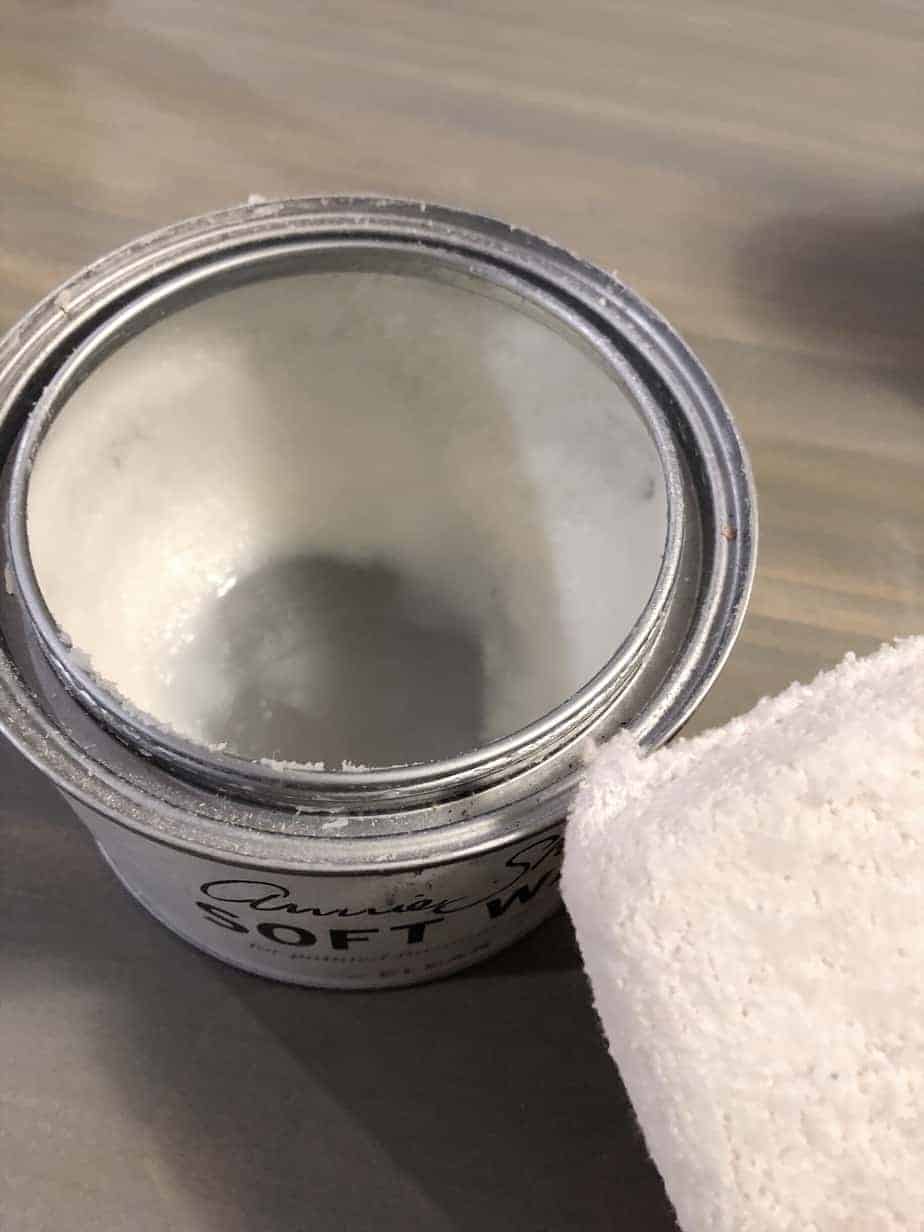
Using a brush designated for wax or a lint-free cloth, brush or wipe the wax on your piece. Work it in, small areas at a time, and wipe off any excess. The wax can then be buffed to a high sheen if preferred.
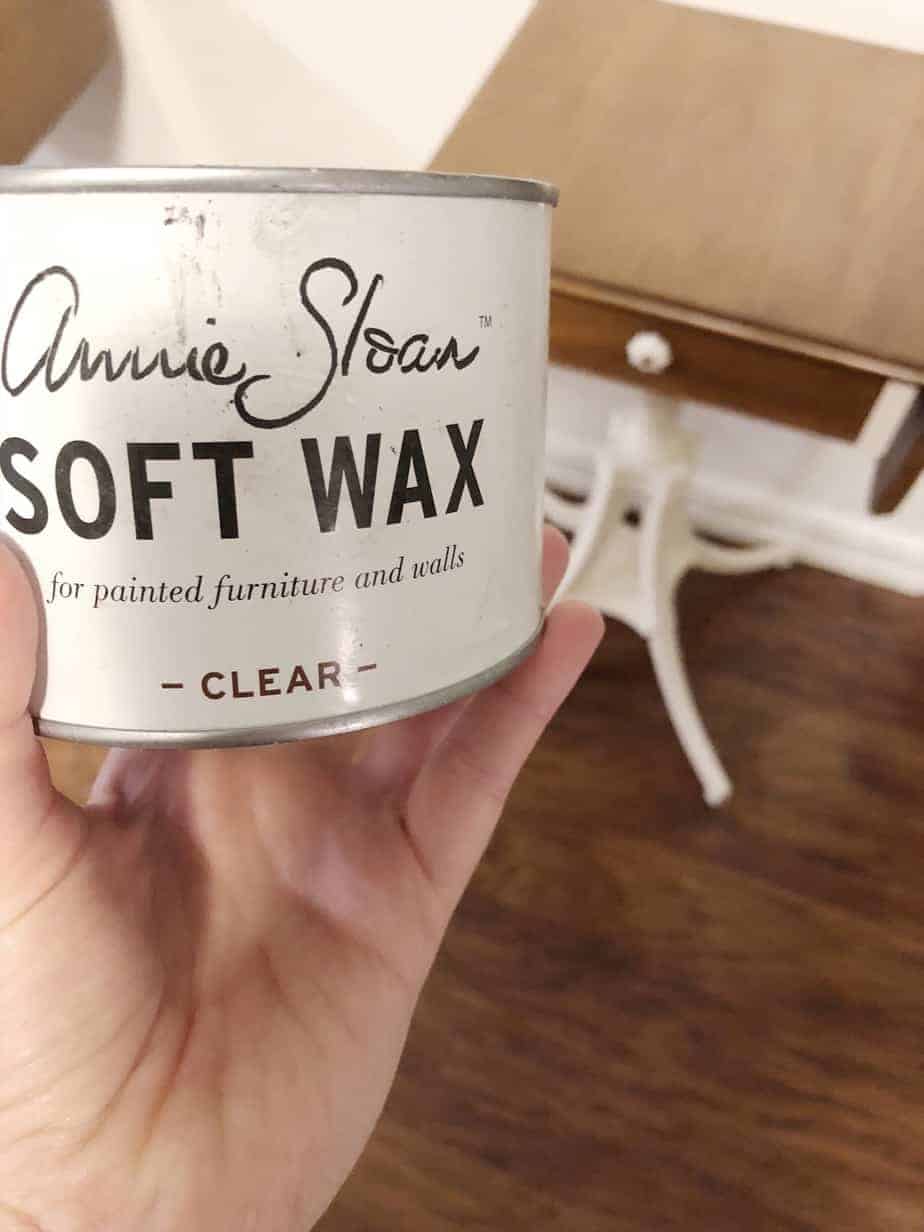
Annie Sloan Clear Wax
If you’re using Annie Sloan Clear Wax, they recommend waxing, then distressing (if desired). After this, you apply a second coat of wax. This is not necessary with most other brands of wax that instead suggest distressing first, then waxing.
Also, if you are wanting to use an antiquing wax, it is recommended to wax the piece with clear wax first, then apply the antique wax. This allows you to better control how the antique wax goes on.
So that’s all there is to it! I hope this has been helpful to you whether you’re just starting out or if you’ve been frustrated with yellowing or streaks from using wax.
OTHER RELATED POSTS:
Chalk Paint Brand Review
Thank for the tips
Ill try them
Adriana😊
Glad I could help! Hope they work for you!!